In this chapter we will focus on the creation of a cutscene using The Witcher’s in-game engine. While playing the game you must have already seen some of the cutscenes prepared by the developing team. Our cutscene will not be so complex, of course.
We’ll create a relatively simple cutscene, using the camera to sweep across a given landscape. In order to do this, however, the module needs to be loaded. This is important – you cannot make a cutscene without having earlier prepared a module and this module has to contain at least one area. If no module is loaded yet, select Open module… from the Module menu:
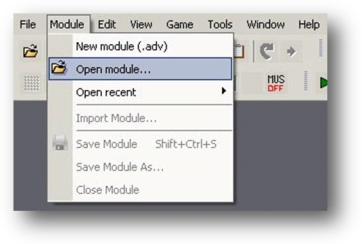
This opens the standard Windows window used for loading files. Go to the Documents and Settings\username\My documents\The Witcher folder (in which all the modules are saved), select our_adventure.adv and click Open. The module will now be loaded.
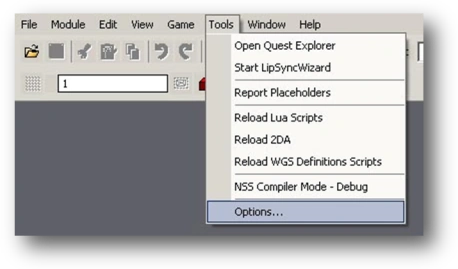
The Cutscene Editor may require some additional time and effort to get used to. In addition, it isn’t as stable as we’d like it to be, so save your progress frequently. You can also turn on an autosave function so that the program will automatically save your progress every so often. This is handled by one of the section options in the D’jinni. To turn this on, open the Tools menu and select Options…:
In the Global Properties window, go to the Cutscene Editor section:
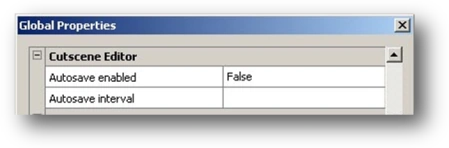
In order to activate the autosave system, set the Autosave enabled attribute to True and then decide how often you want the program to autosave via the Autosave interval attribute. Click OK to save the changes.
All items (5)


