This is a step by step tutorial on how to export static models from Blender to D'jinni. The tutorial is mainly for users who don't have much experience with Blender, advanced users may skip most of the steps.
Download Blender 2.49b– choose the zipped version without an installer. Why the zipped version? Because there's a possibility that you would like to have the newest version of Blender installed; the export script can be used only with the old version 2.49b, so it's safest to run the old Blender from the directory it's been unzipped to. If you use Windows 64-bit, download Blender 2.49b 64-bit.
Download Python 2.6.6. Don't download the newest versions of Python, because the script is written in Python 2.6. If you use Windows 64-bit download Python 2.6.6 64-bit.
Install Python (it's got its own installer), unzip Blender to a directory of your choice, and uzip Fantasta's export script to Blender script folder ( /.blender/scripts).
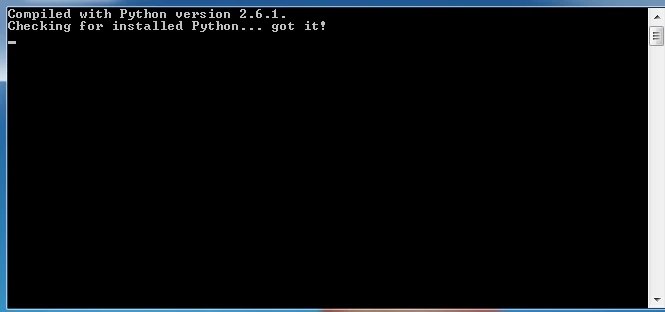
I'm going to show how to export the deafult cube from Blender. Let's start Blender. You can see a console Window, it should show a message that Blender's found Python.
To see the console, minimize Blender window.
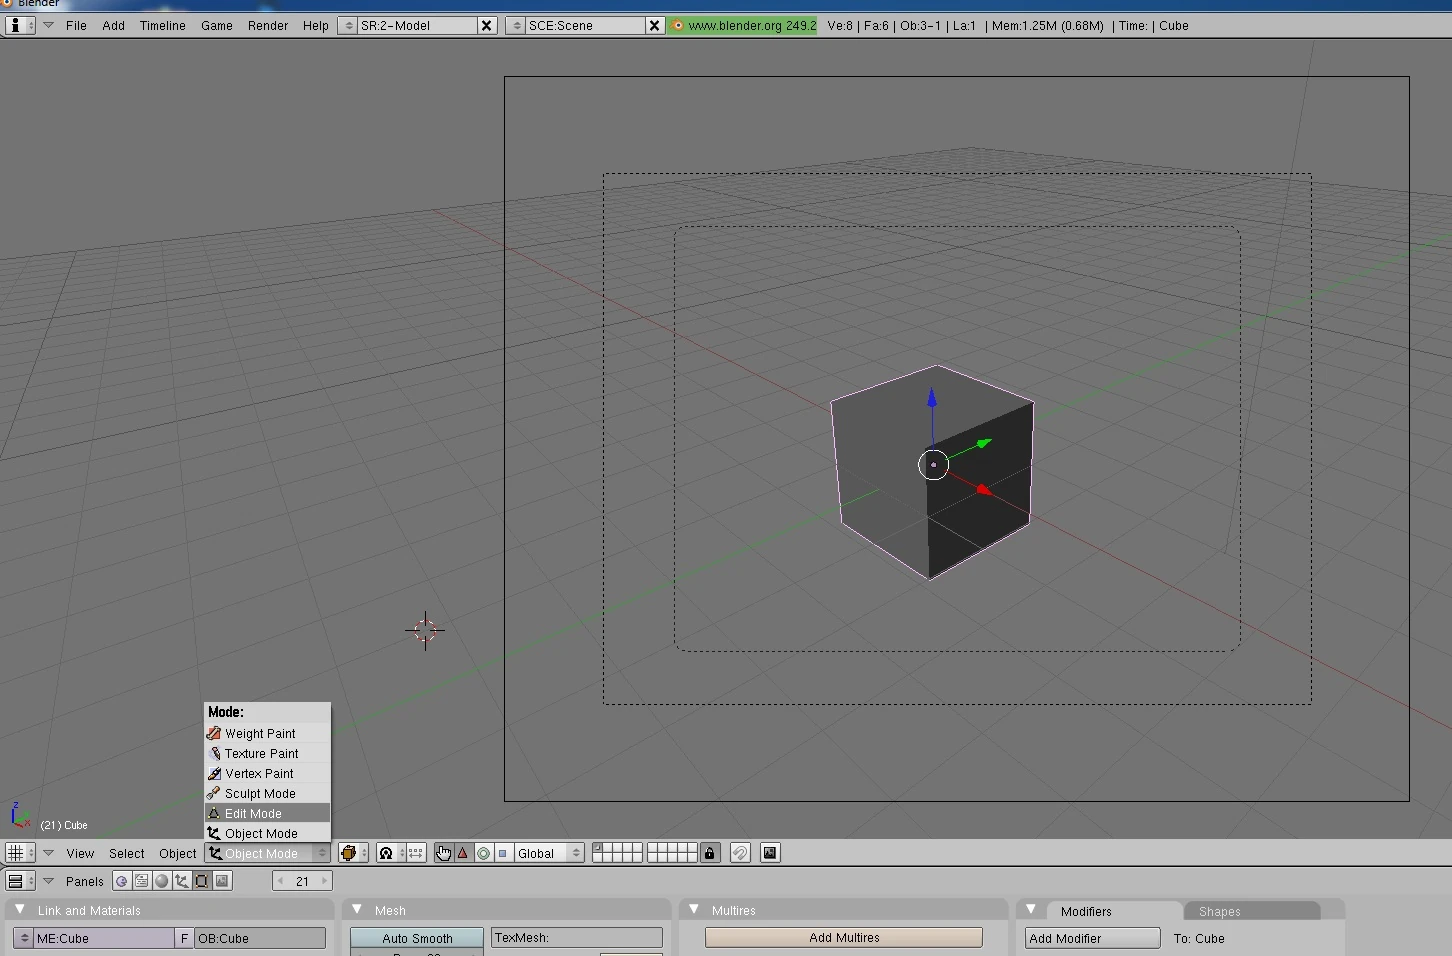
Let's get back to our default Blender window and the default cube. Turn on the Edit mode.
To use such a camera angle, press 0 on Numpad.
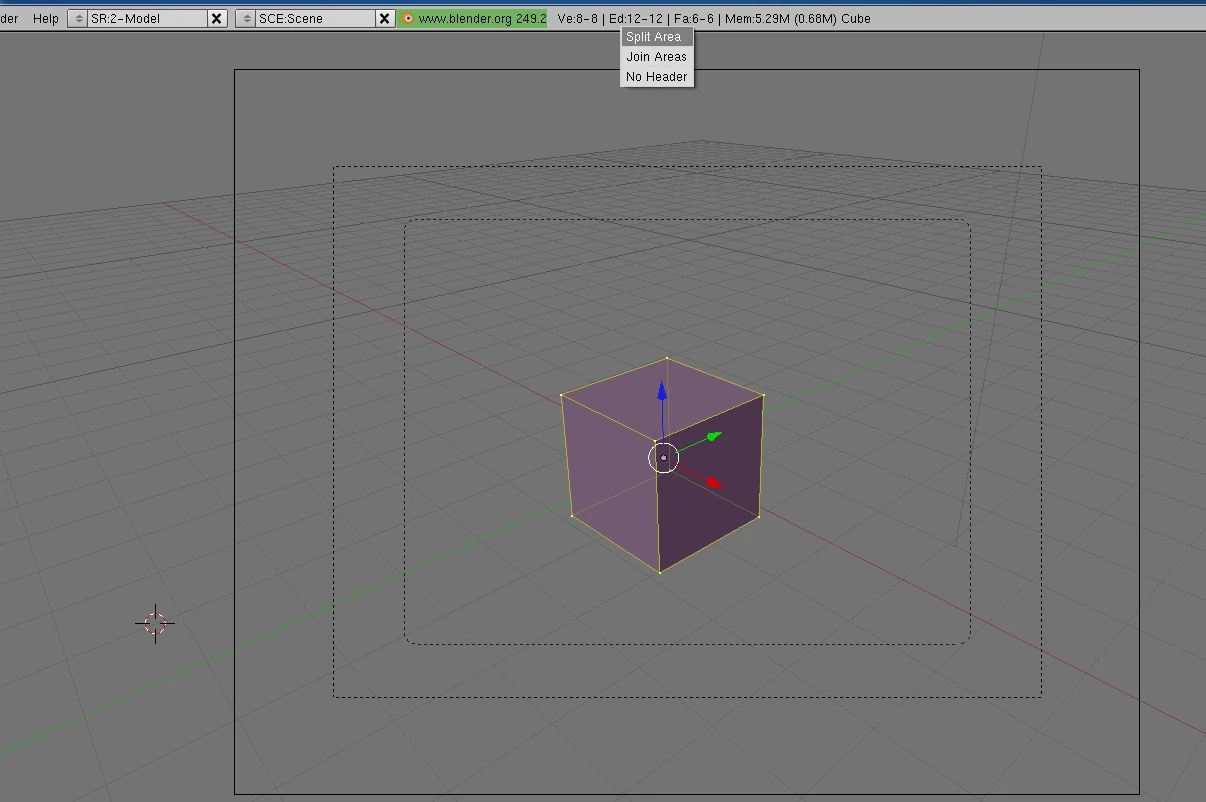
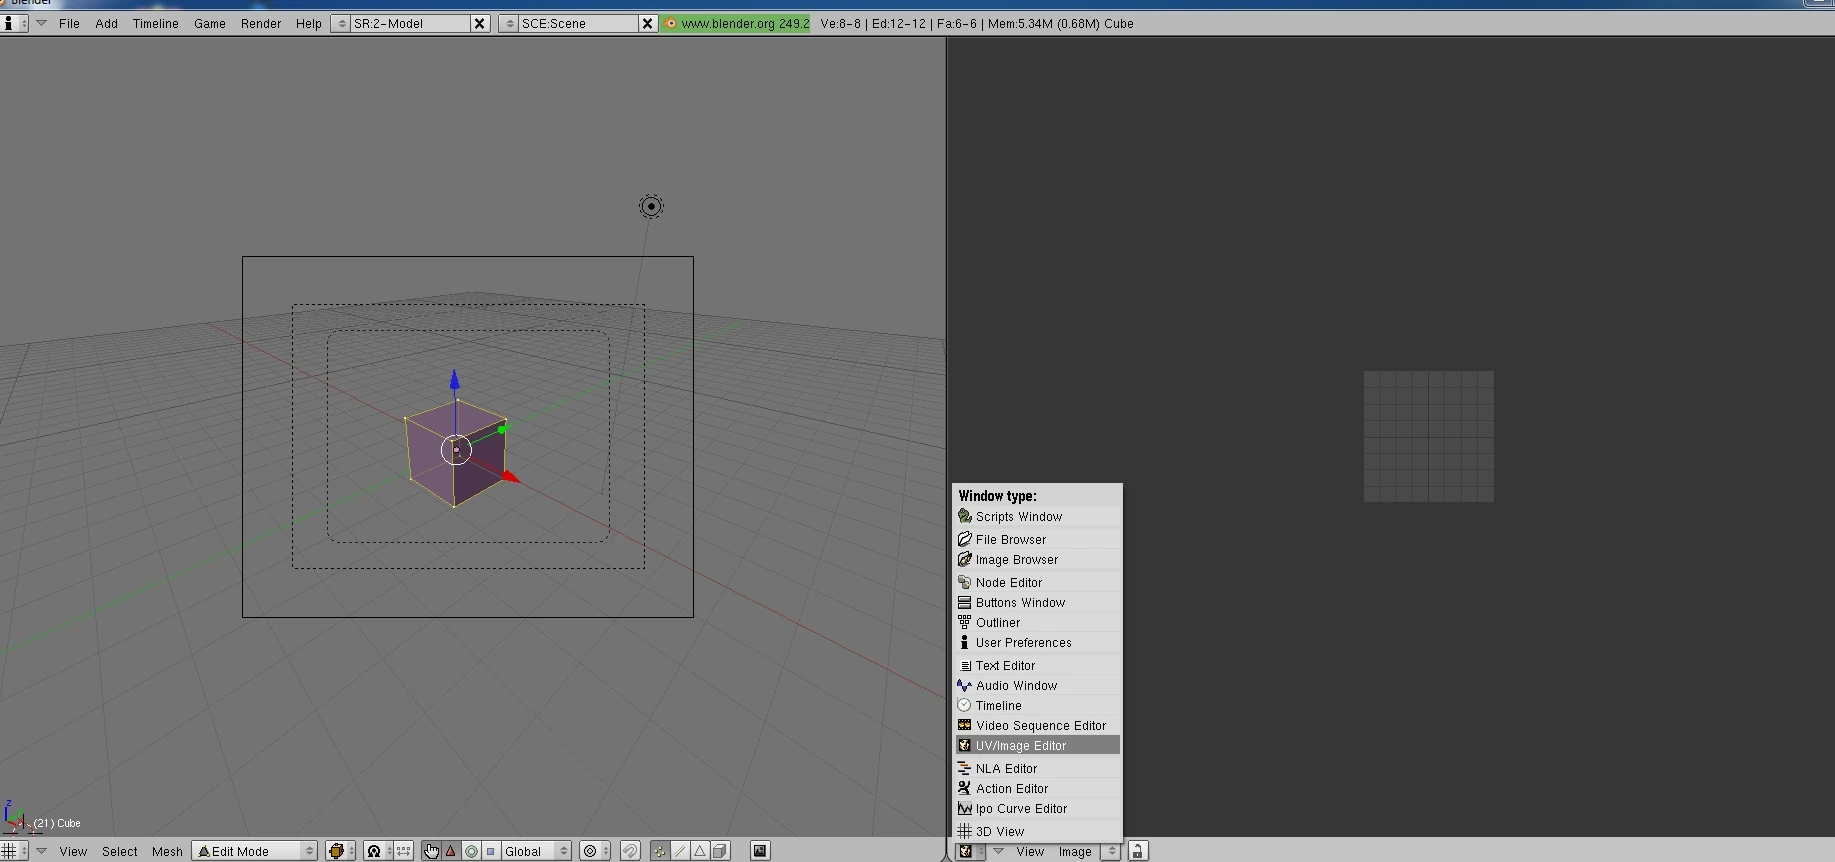
Let's prepare some windows to make our job easier. Hover your mouse pointer over the top part of the 3D window, right-click it, and click on Split Area.
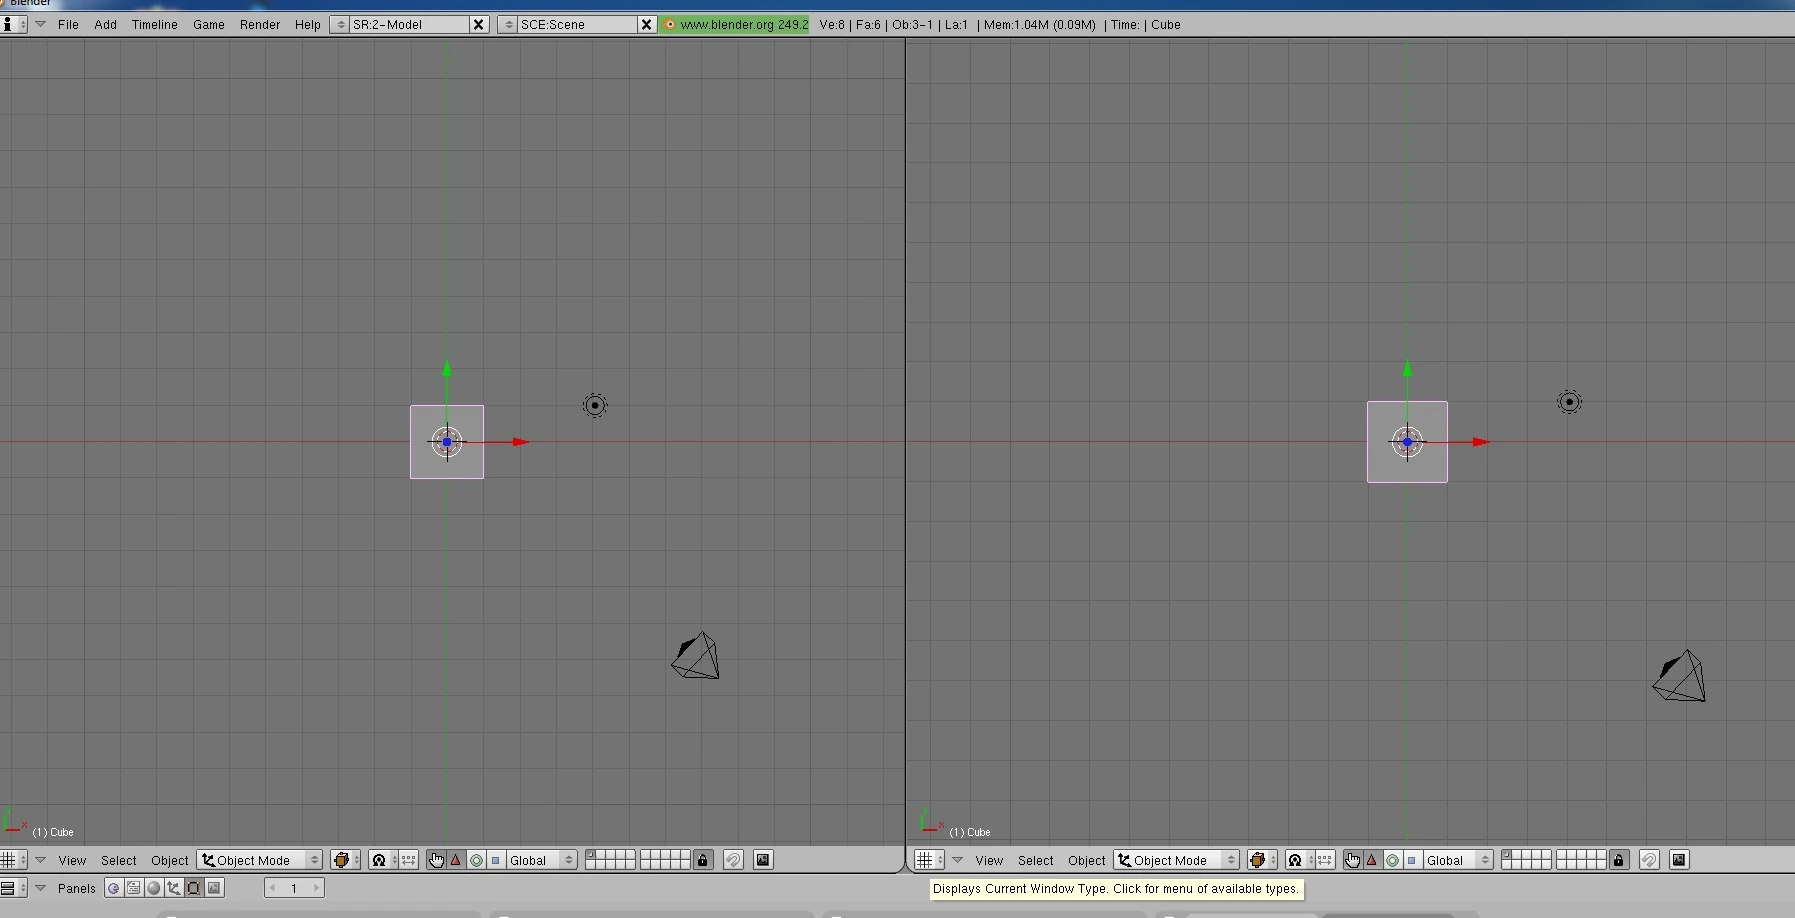
Drag the vertical line, left-click and split the window e.g. in half. In the newly opened window hover your mouse pointer over the icon at the bottom. Of course you can split the area and drag your windows as you would like to, this is just an example.
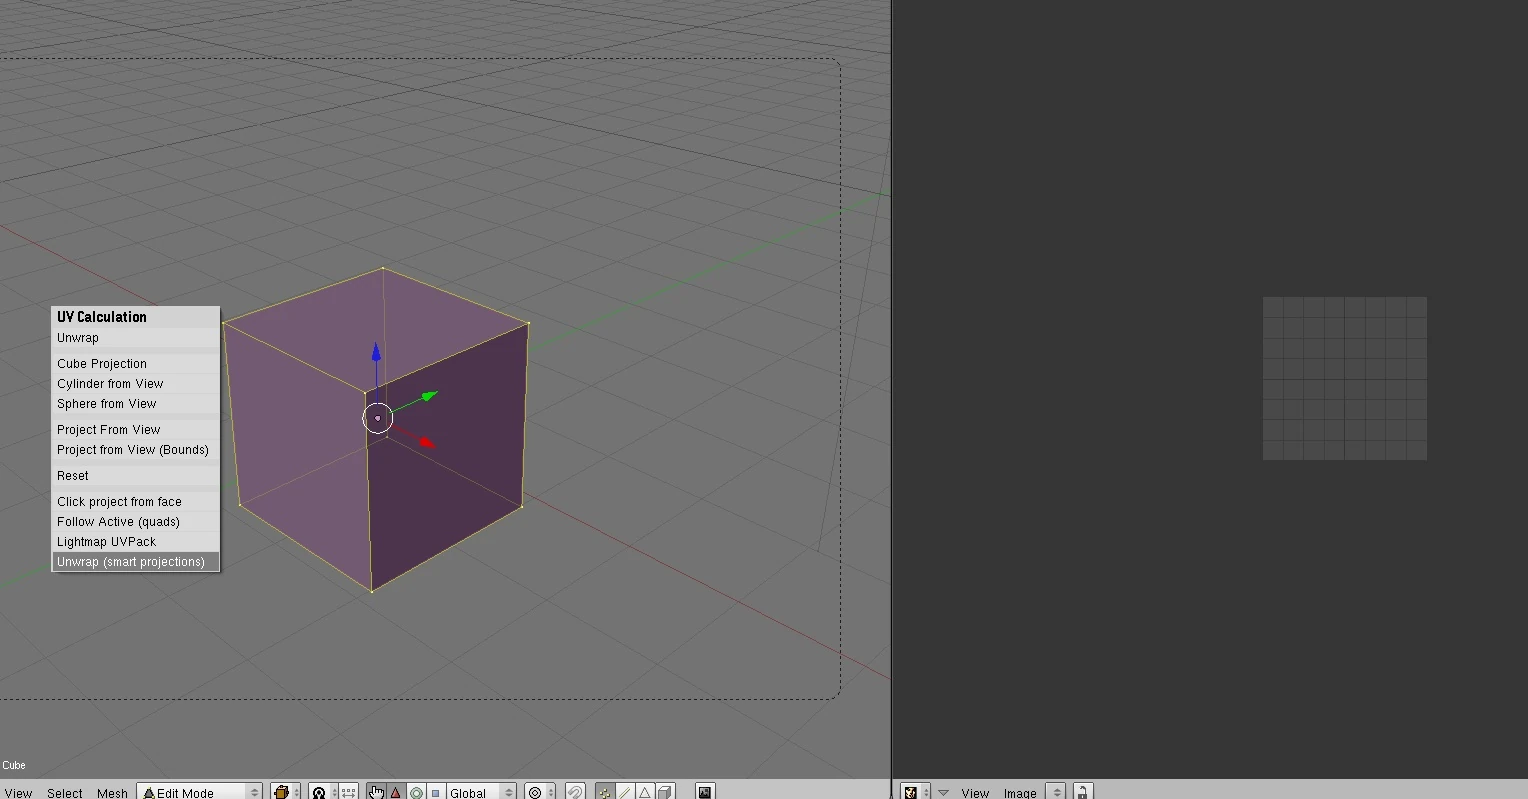
From the drop-up list choose Uv/Image Editor. Hover your mouse pointer over the cube (top left window), press U and choose Unwrap (smart projections), click OK. You could use other unwrapping options as well, check tutorials about unwrapping in Blender. You can see now an unwrapped mesh in the right window. It's not perfectly unwrapped, but it will do; I highly recommend reading some tutorials on how to mark seams and unwrap models properly.
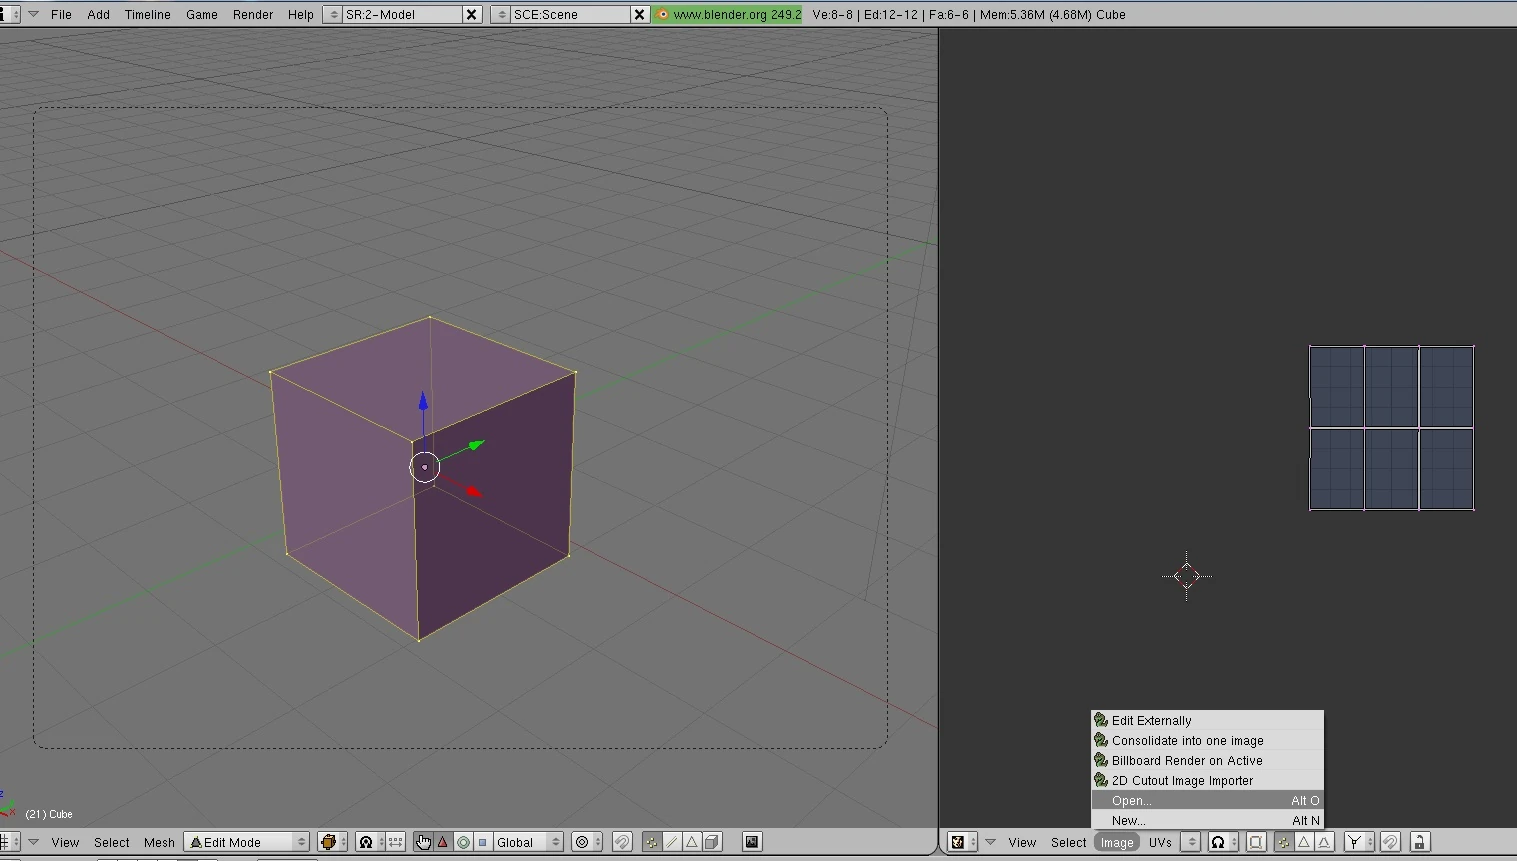
In the right window click Image/Open and load an image of your choice. It will be used as our texture, remember to scale it in a graphics editor so its dimensions are a power of two – e.g. 512x512 or 1024x1024. The texture will cover the whole model. Remember to save your model. Click at the top: File/Save (or press Ctrl W) and save your model, you can name it e.g."cube".
Hover your mouse pointer over the bottom window and press F5 (or click the Shading icon), now you can see a Preview window with a sphere.
Scroll to the right, click Map Input and choose UV.
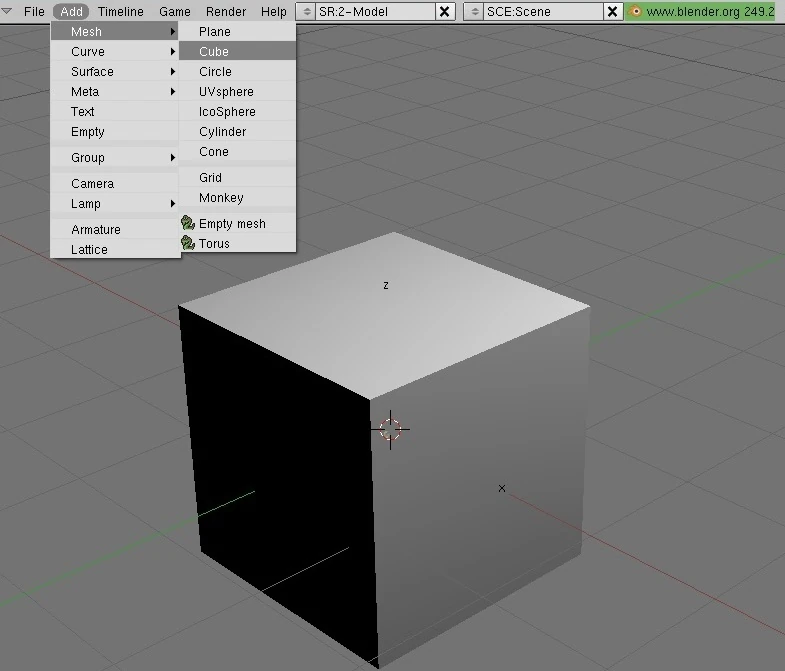
Let's add another cube. At the top of the 3D window, click Add/Mesh/Cube.
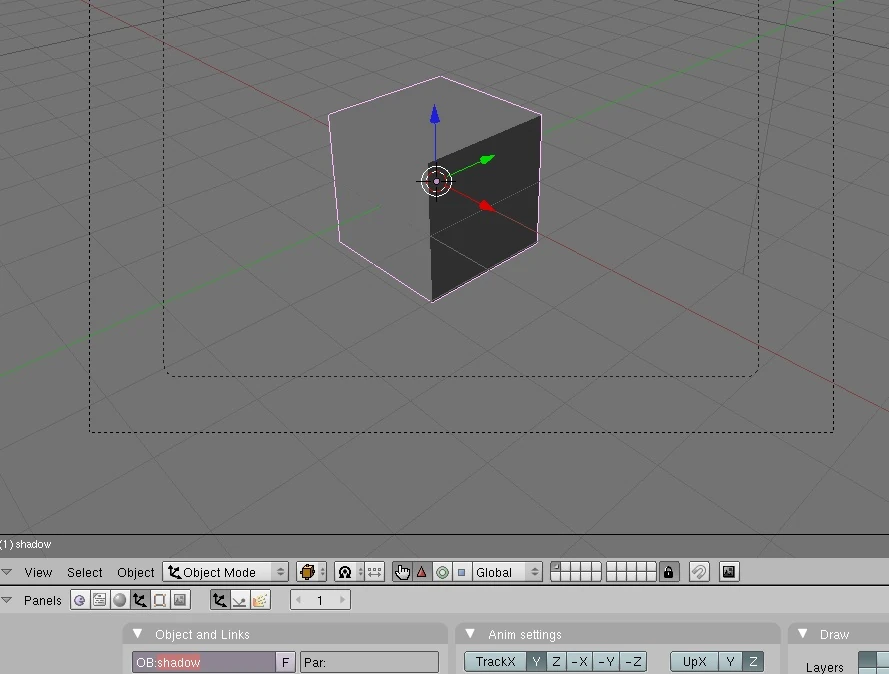
Name our new cube "shadow" in the Object panel; "shadow" will be the shadow of our model.
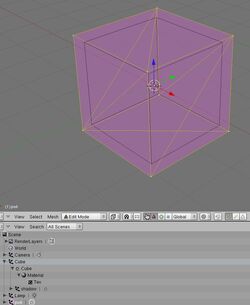
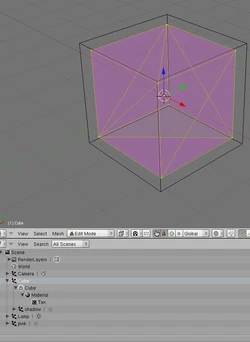
Let's change the window type at the bottom to Outliner (SHIFT F9) to see the hierarchy of our Blender scene.
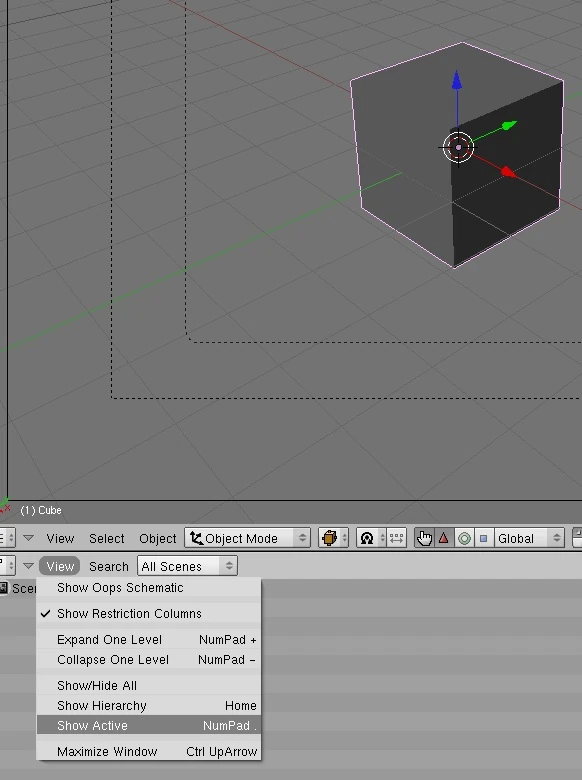
If you can't see any hierarchy, click View/Show Active to see all the objects.
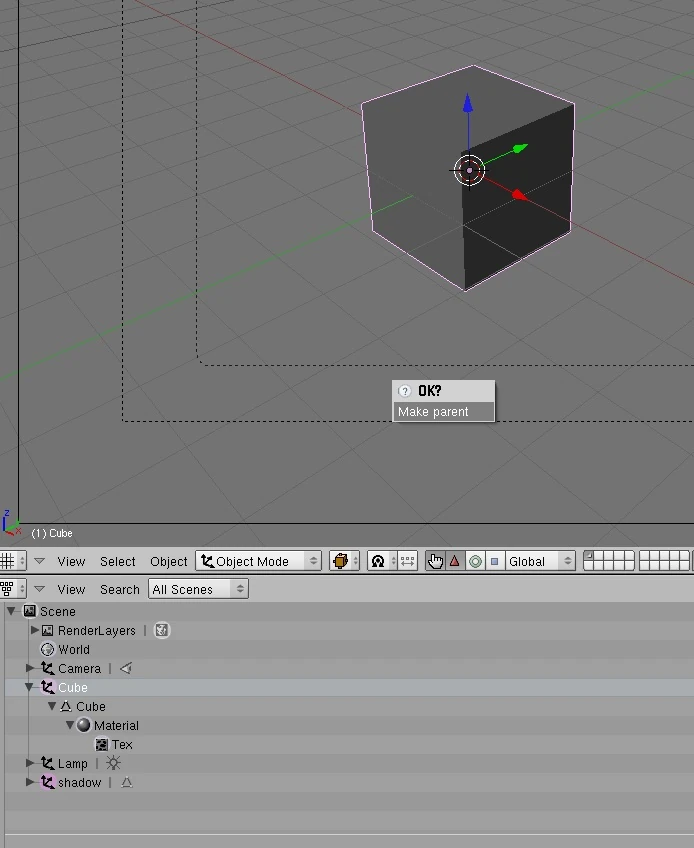
Press Shift and click Cube at the Outliner window, release the key; both "Cube" and "shadow" should be highlighted now. Hover you mouse pointer over the 3D window, press CTRL P. You should see now the message: "OK? Make parent”.
Click on "Make parent". Now you can see that the scene hierarchy at the bottom has changed, the mesh "shadow" is attached to the mesh "Cube".
Let's add another cube. At the top of the 3D window, click Add/Mesh/Cube.
Name our new cube "shadow" in the Object panel; "shadow" will be the shadow of our model.
Let's change the window type at the bottom to Outliner (SHIFT F9) to see the hierarchy of our Blender scene.
If you can't see any hierarchy, click View/Show Active to see all the objects.
Press Shift and click Cube at the Outliner window, release the key; both "Cube" and "shadow" should be highlited now. Hover you mouse pointer over the 3D window, press CTRL and P. You should see now the message: "OK? Make parent”.
Click on "Make parent". Now you can see that the scene hierarchy at the bottom has changed, the mesh "shadow" is attached to the mesh "Cube".
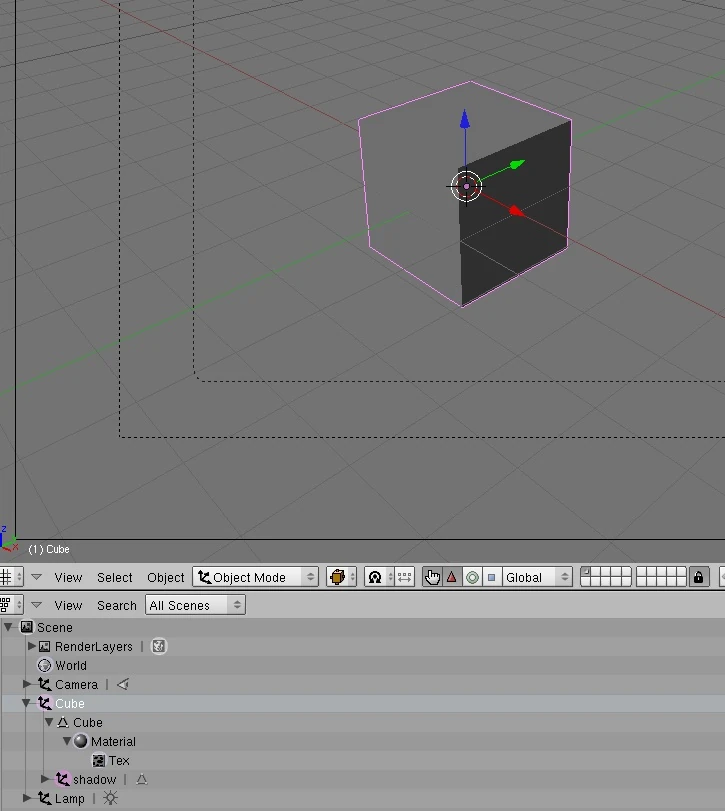
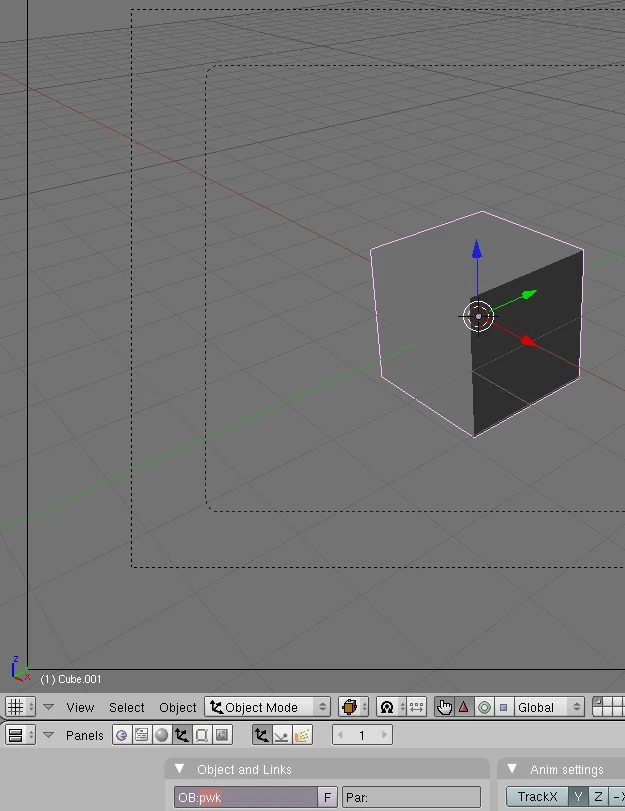
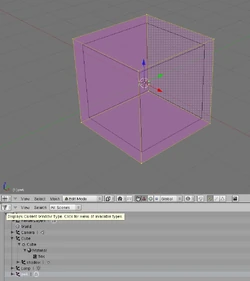
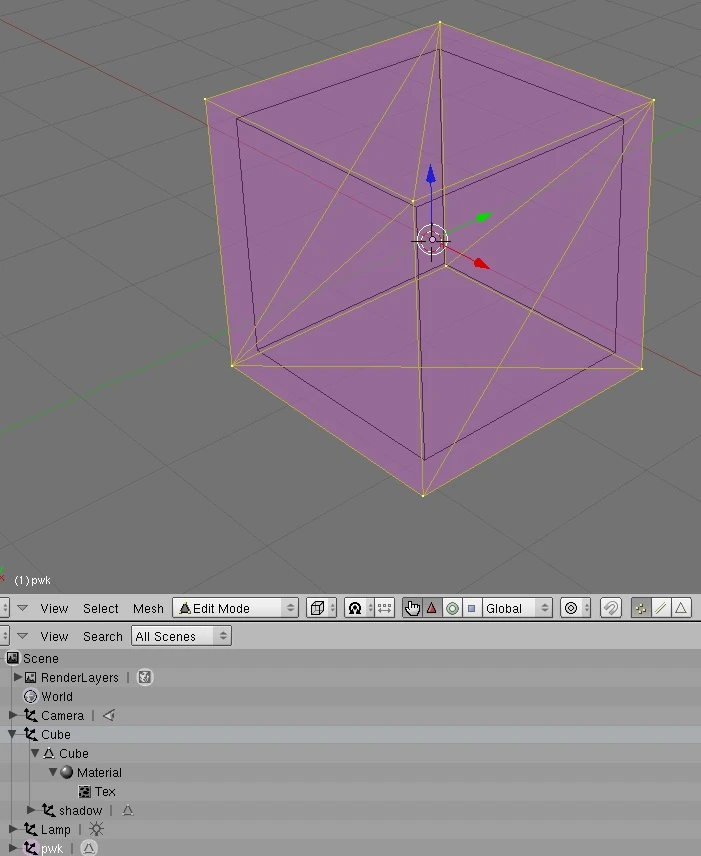
Let's add another cube. At the 3D window, click Add/Mesh/Cube, choose Buttons Window or press SHIFT-F7 while hovering with your mouse pointer over the bottom window, and change the name of our new cube, name it „pwk”.
Pwk will make our model non-walkable, that is an in-game character won't be able to walk through our model.
The pwk size shouldn't be identical to our default cube. To see all the objects more clearly, choose Wireframe or Bounding Box Shading (the icon is to the right of Object Mode icon). To resize the pwk press S, drag the line and left-click. Pwk should be a bit bigger than our "Cube".
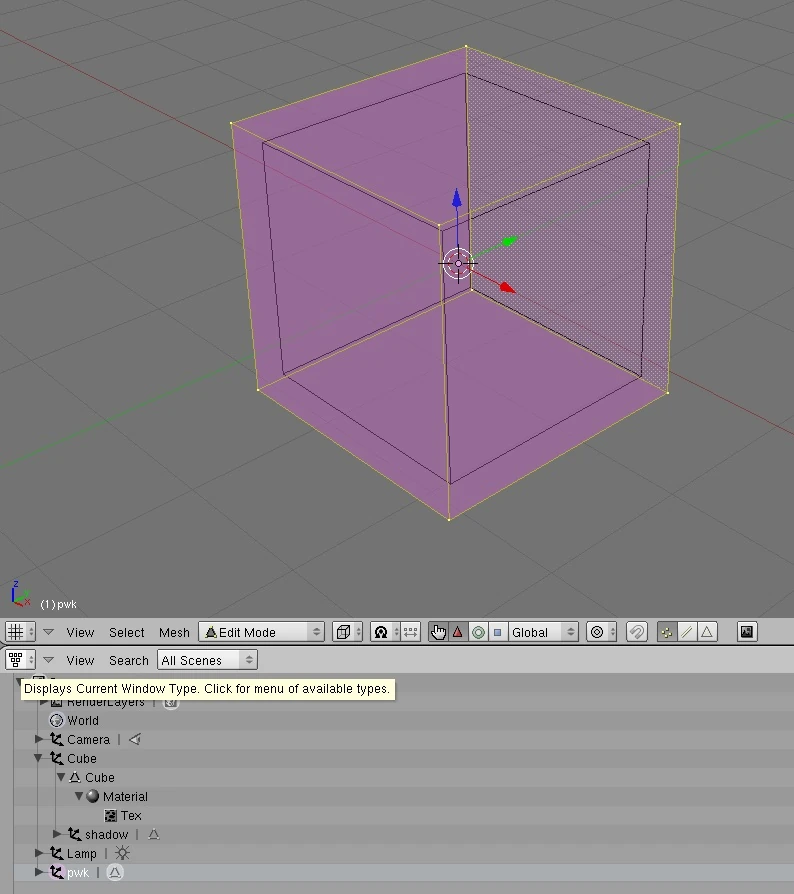
Now let's triangulate all meshes in our model, we can skip "shadow”. To triangulate means to divide all square surfaces into triangles. The triangulation is necessary for the export script to export our model properly; otherwise, after importing to Djinni, we will see our model covered in tiny black triangles. Choose Outliner from the list at the bottom or press SHIFT F9,and go on to Edit Mode.
Hover your mouse pointer over the top left window, press CTRL T, and several triangles will appear.
Let's do the same with "Cube". Select Cube from the list at the bottom, go on to Edit mode, hover your mouse pointer over the top left window and press CTRL T.
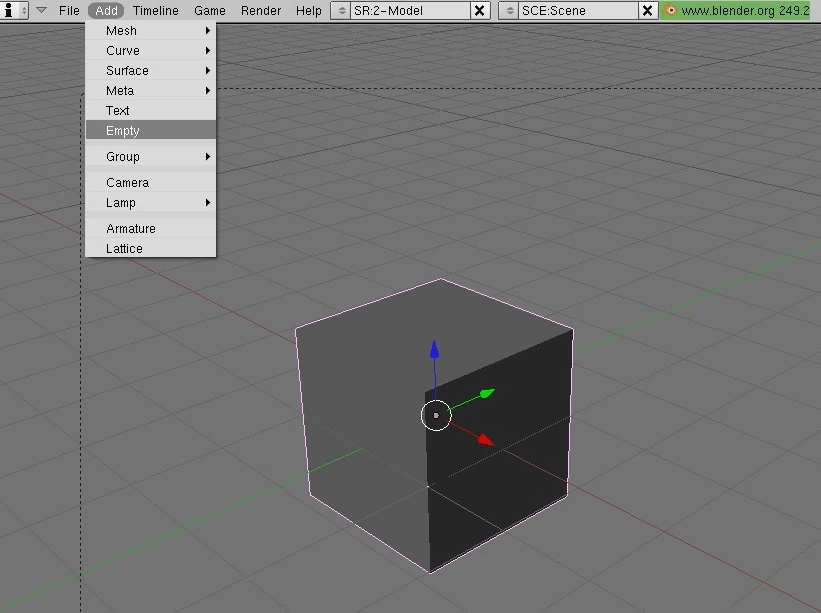
Let's go on to Object Mode, and add an object of type Empty. Click Add/Empty at the top.
The object should appear at the location 0.0.0, don't worry if you can't see it, it's an empty object :)
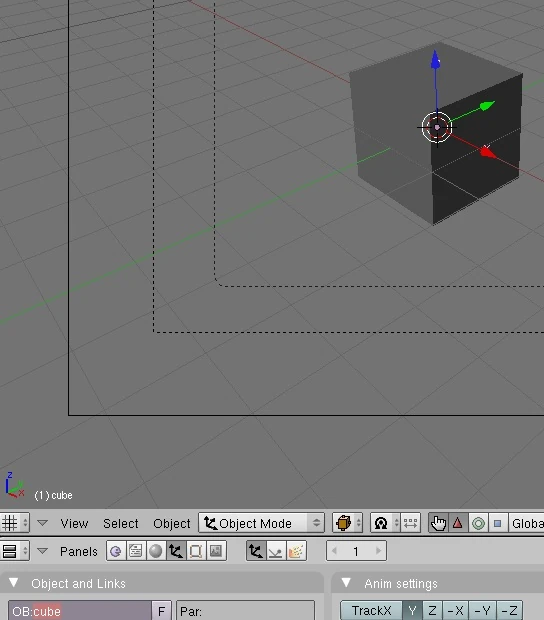
Change the bottom window to Buttons window – hover your mouse pointer at the bottom, press SHIFT F7 or choose the Buttons window from the drop-up list. Highlight the word "Empty” and change it to "cube”, the same name as our .blend file.
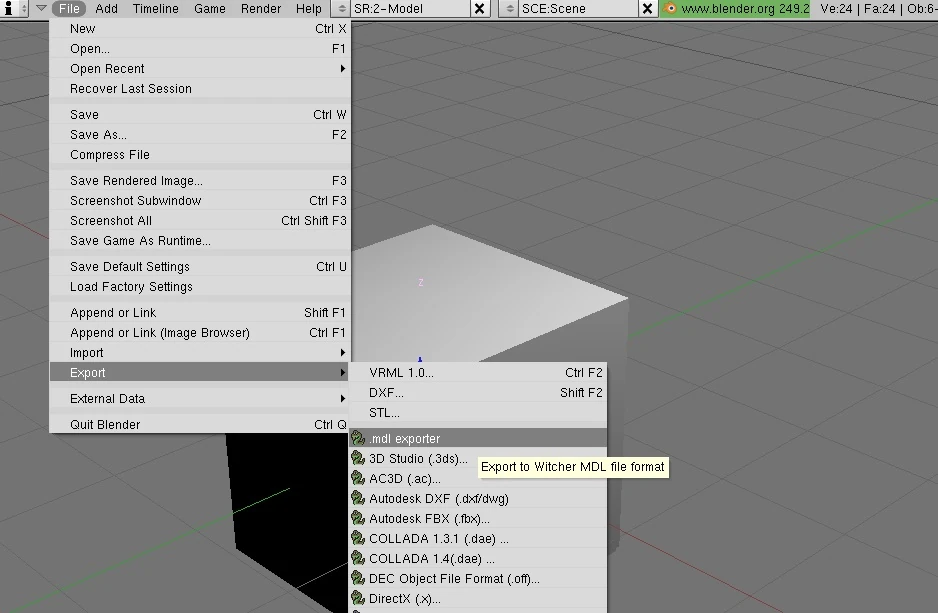
We are ready to export our model now. At the top click File, Export, .mdl exporter.
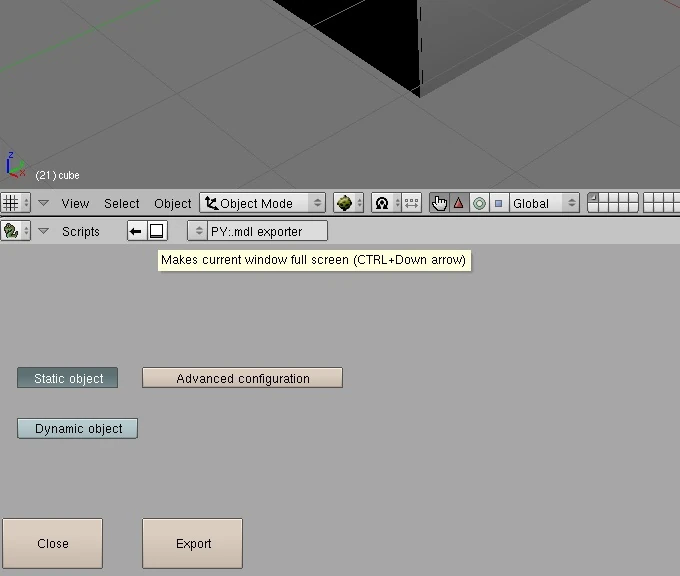
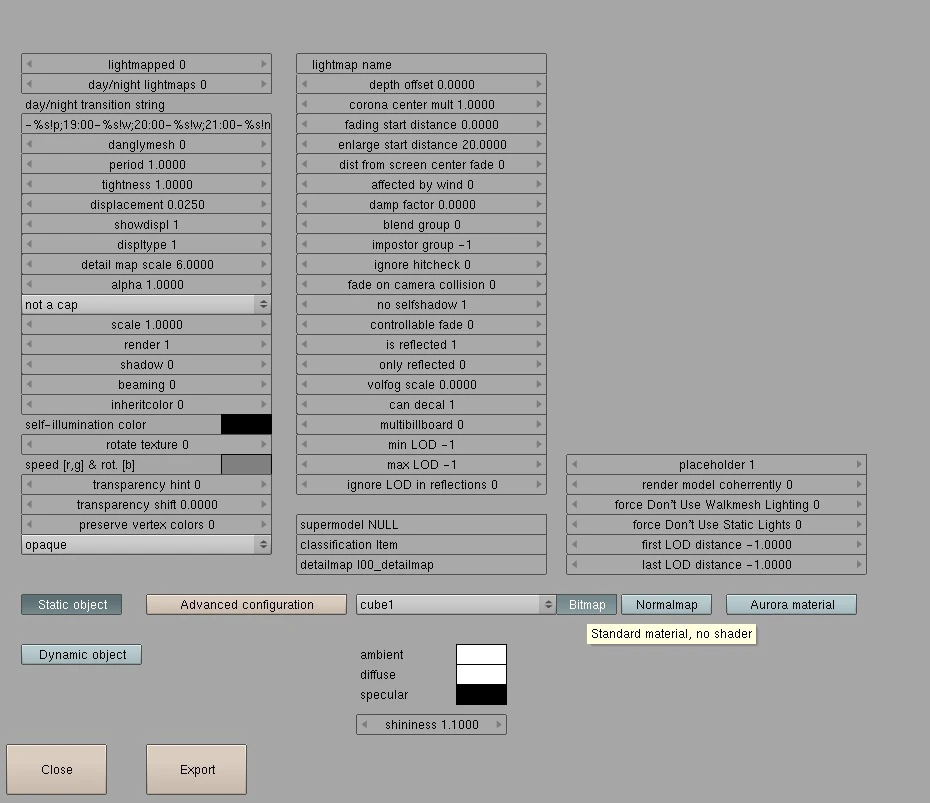
At the bottom you can see now Python script window. If you want to change export settings, press Static Object, and click the icon to maximize the window (or press CTRL and arrow down).
(Optional). If you want to experiment with advanced settings, click Advanced configuration and choose a mesh from the drop-up list. The default settings are usually good enough for most users; if you want to experiment or you are an experienced 3D modeller you can change the settings.
If you want to know exactly what the particular properties mean, look for BioWare .mdl and export scripts documentation on the Internet. Buttons which may be useful are Bitmap, Normalmap, and Aurora Material – you can specify the type of shader here. The default setting is Bitmap, you can also choose Normalmap shader or you can load material file after clicking on Aurora Material. You can find material files in Witcher assets, their file extension is .mat.
Click Export, and Export MDL. After a successfull export you should see the message "Your model has been exported".
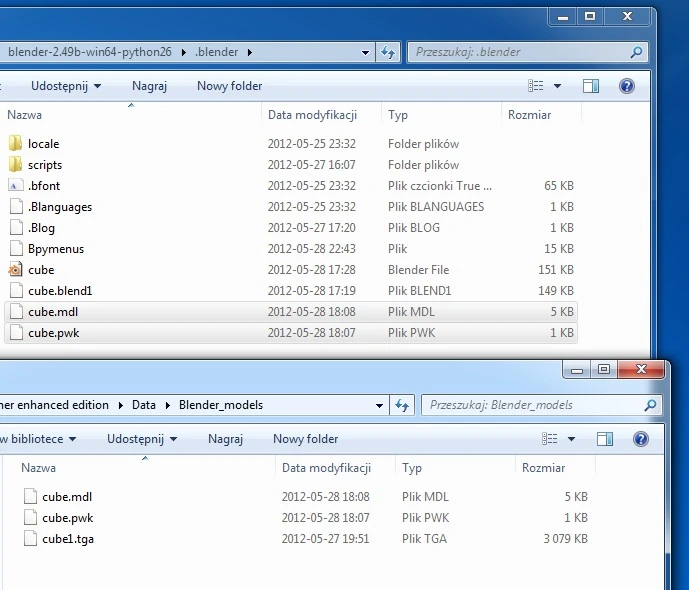
We should look for the .mdl and .pwk files in Blender folder named ".blender". Copy the .mdl, pwk and image files to the Witcher/Data folder.
It's best to create a new folder in Data and copy the files there.
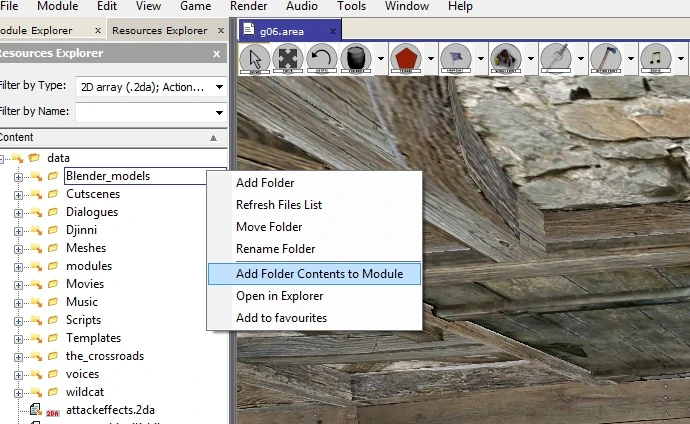
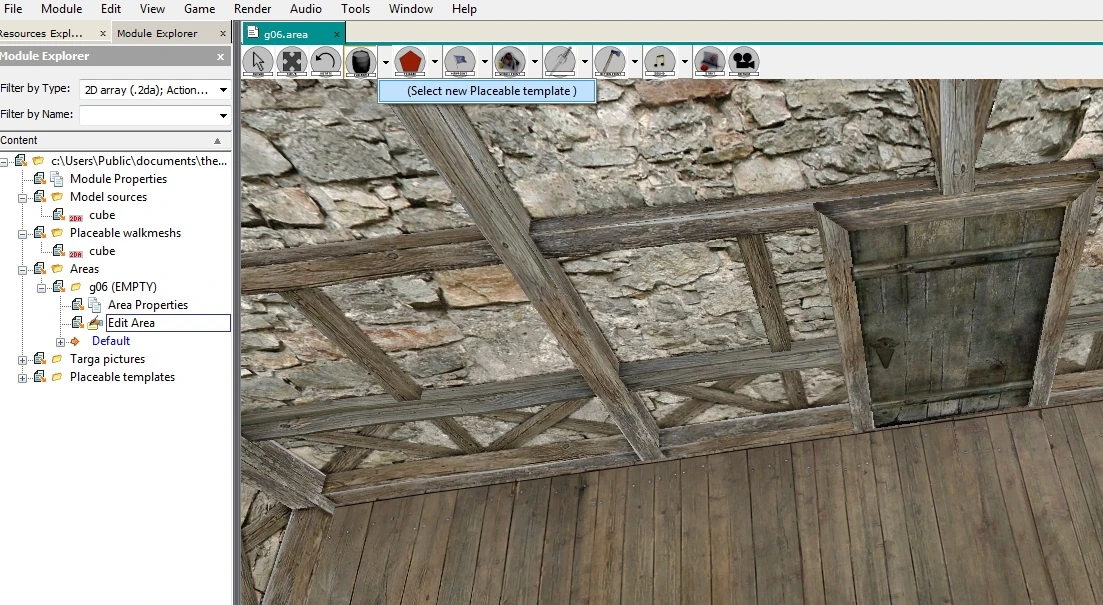
Let's open our module in D'jinni and import the files with the help of "Add Folder Contents to Module" command.
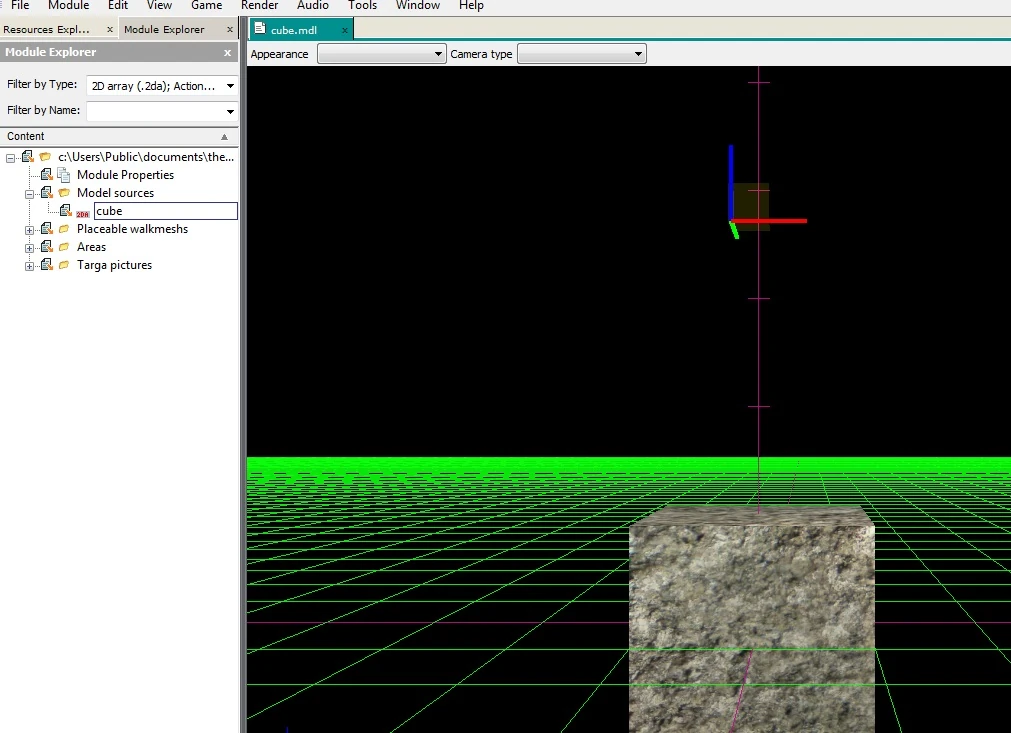
Now we can see our model in D'jinni when we click on Model sources and "cube". Our walkmesh and image files have been imported, too. The image should be in DDS format, you can use .tga files as well, but .jpeg files won't get imported to D'jinni.
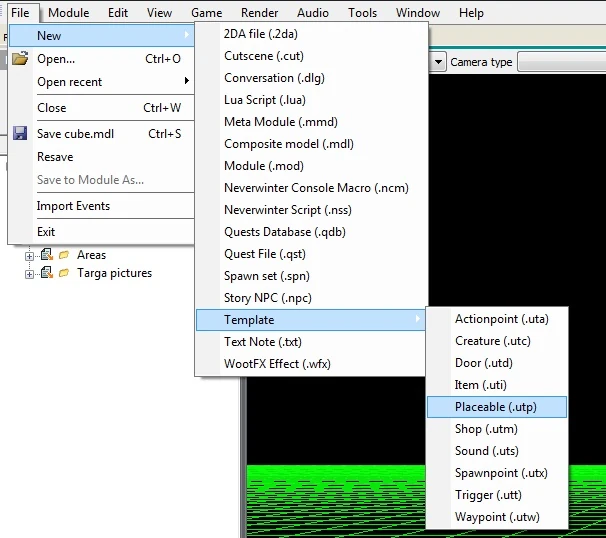
Let's create now a placeable for our model (click File, New, Template, Placeable).
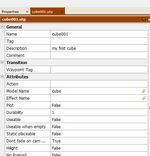
Name the placeable, write in the proper model name (here it's "cube"), change the Don't Fade on Camera Collision to True, we don't want our model to disappear while a character is approaching it.
Open your module and add the newly created placeable to the area: click the barrel icon and choose Select New Placeable Template/Module/cube001.
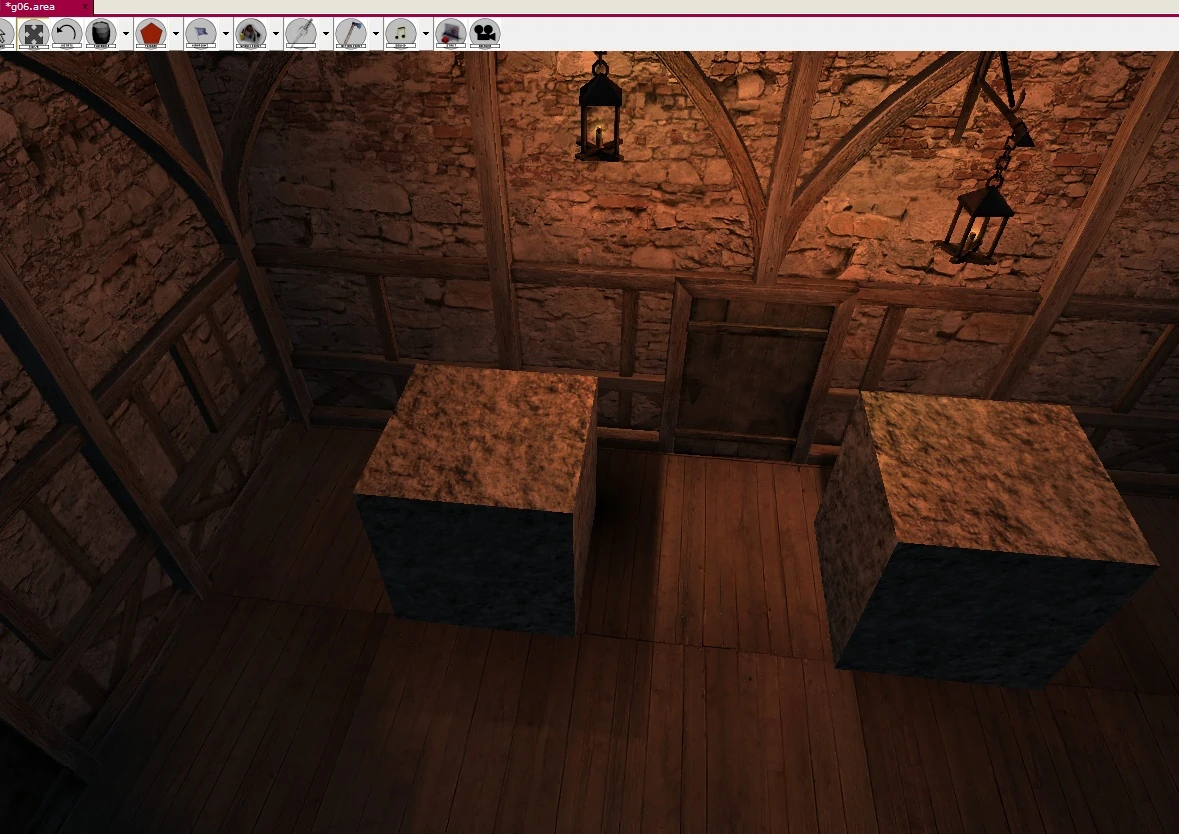
Let's add the cubes and let's place some source of light in the area. As you can see our model casts a shadow now.
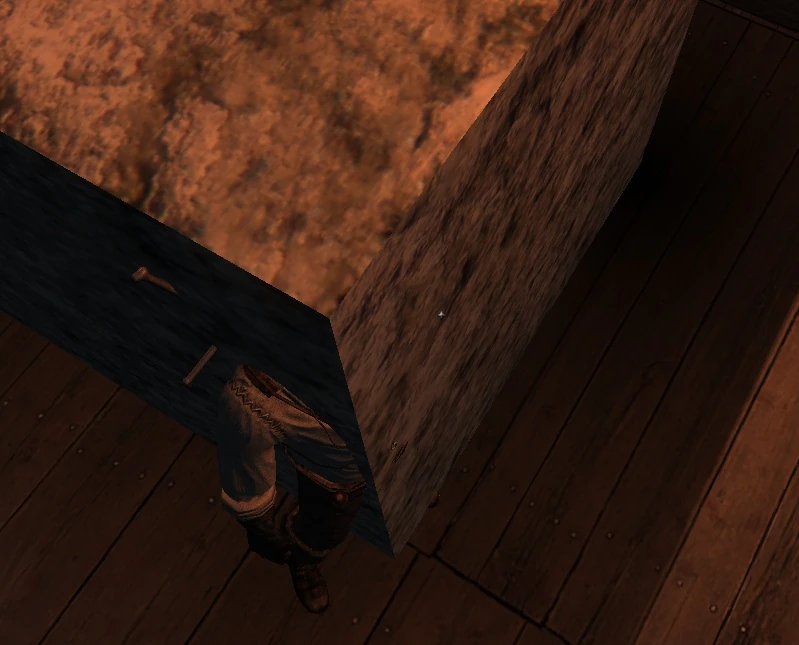
If the pwk is not big enough, Geralt will be able to walk through some part of our model.
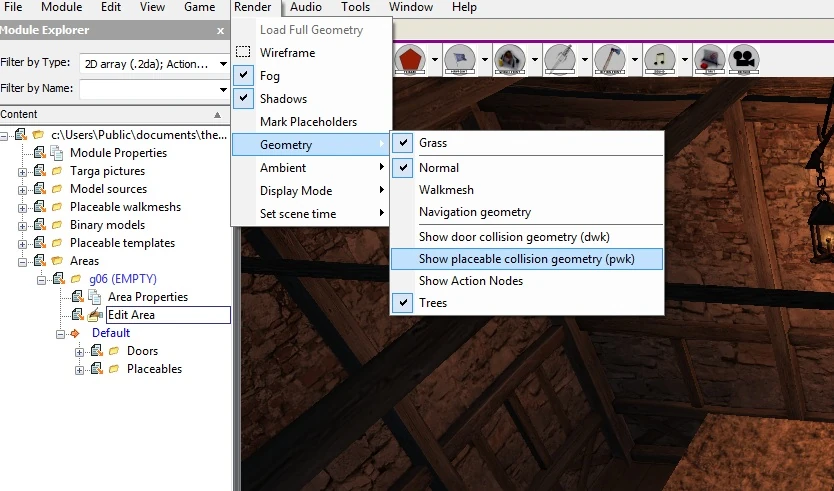
In case such an error appears you can check the pwk gemometry in D'jinni first - click Render/Geometry/Show placeable collision geometry(.pwk), and then correct the size of the pwk mesh in Blender.
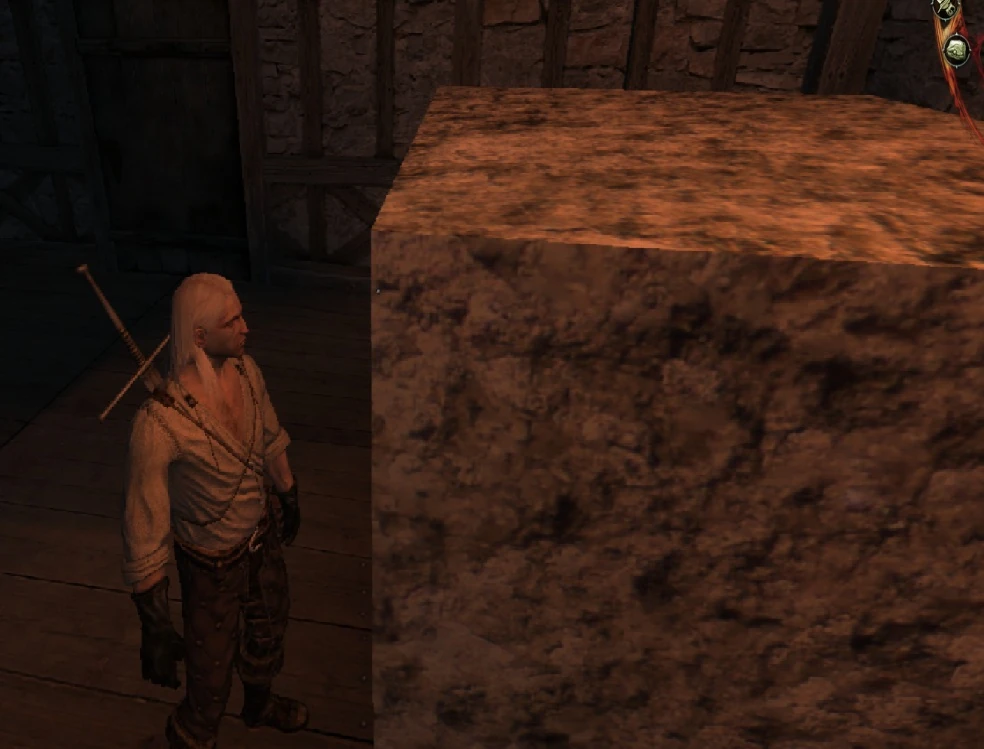
If the pwk mesh is of correct size, Geralt will simply stop.


