This subchapter deals with the creation of a shop. Essentially, creating a shop isn’t that much different from creating a store.
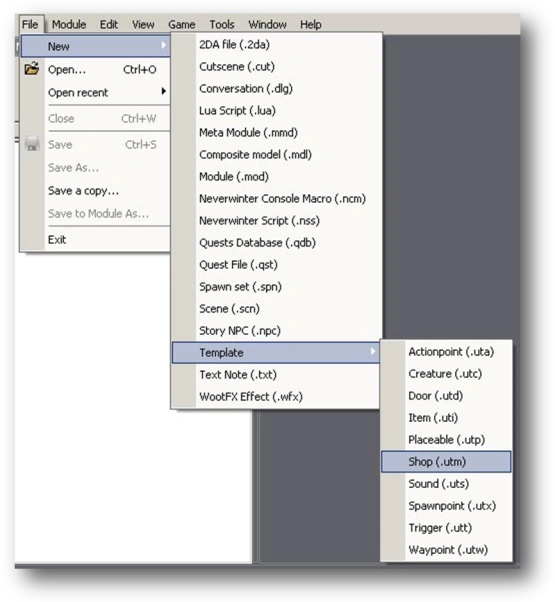
Let’s create a new shop template. To do this, select New -> Template -> Shop (.utm) from the File menu:
The new shop template window will appear on the right side of the screen:
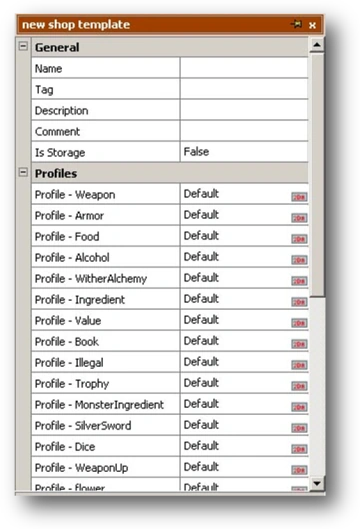
This window contains the attributes of the shop. Switch the Is Storage attribute to False in the General section. To do this, click the right-hand column opposite the Is Storage attribute:
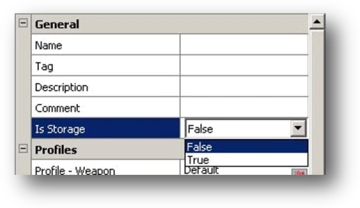
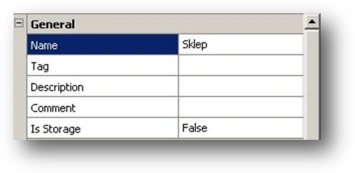
This is very important. If the attribute is set to True, then we’d get a store instead of a shop. Now click the right-hand column opposite the Name attribute, type in Shop and hit ENTER:
Another important element in creating a shop is the Inventory contents attribute in the Attributes section. Click the small red icon in the right-hand column opposite the Inventory contents attribute:
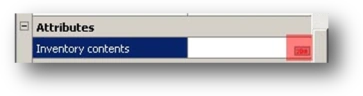
A window called Inventory Contents will appear:
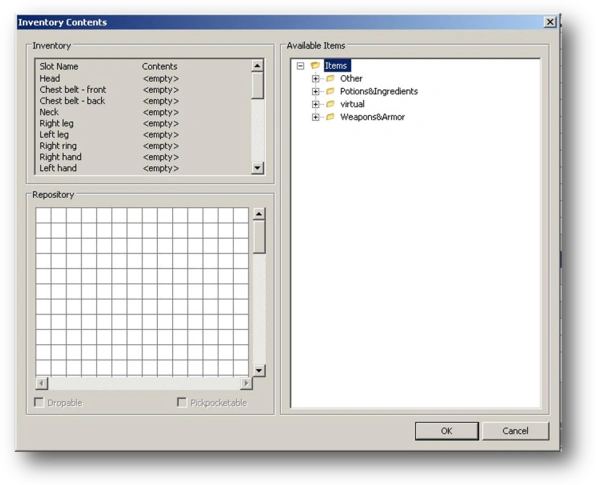
This window enables us to add the items that should be available for sale in the shop. The basics of adding items have been discussed in another chapter of the manual.
After adding the appropriate items, click OK in the Inventory Contents window. Now look at the attributes in the Profiles section:
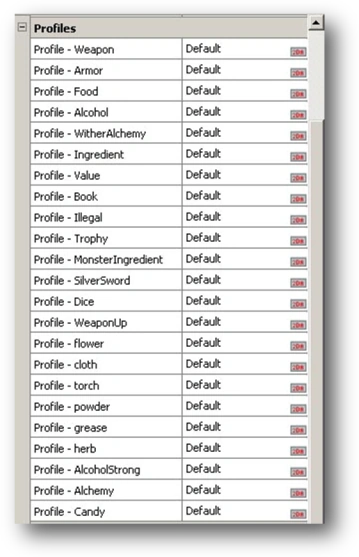
These attributes are used to set item price options. Items in “The Witcher” are divided into 23 profiles, each of which is linked to the price options of a given item. These are as follows:
- - Profile – Weapon – the price options for weapons,
- - Profile – Armor – the price options for armor,
- - Profile – Food – the price options for food,
- - Profile – Alcohol – the price options for alcohol,
- - Profile – WitcherAlchemy – the price options for Witchers’ alchemical items,
- - Profile – Ingredient – the price options for ingredients,
- - Profile – Value – the price options for valuable items,
- - Profile – Book – the price options for books,
- - Profile – Illegal – the price options for illegal items,
- - Profile – Trophy – the price options for trophies,
- - Profile – MonsterIngredients – the price options for monster ingredients,
- - Profile – SilverSword – the price options for silver swords,
- - Profile – Dice – the price options for dice,
- - Profile – WeaponUp – the price options for weapon upgrades,
- - Profile – flower – the price options for flowers,
- - Profile – cloth – the price options for clothes,
- - Profile – torch – the price options for torches,
- - Profile – powder – the price options for powder,
- - Profile – grease – the price options for grease,
- - Profile – herb – the price options for herbs,
- - Profile – AlcoholStrong – the price options for strong alcohol,
- - Profile – Alchemy – the price options for alchemy,
- - Profile – Candy – the price options for candles.
To set the price profile of an item, click the right-hand column opposite the appropriate profile. As an example, if you wanted to set the price options for weapons, just click the right-hand column opposite the Profile – Weapon attribute:
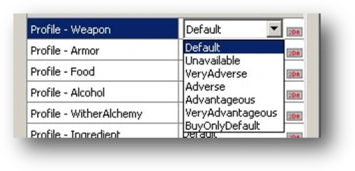
Choose the appropriate option. The values you can assign are:
- - Default – items are sold at full price, bought back at 1/5 price,
- - Unavailable – items cannot be bought or bought back,
- - VeryAdverse – items are sold at full price, bought back for 1/100 price,
- - Adverse – items are sold at full price, bought back at 1/10 price,
- - Advantageous – items are sold at full price, bought back at ½ price,
- - VeryAdvantageous – items are sold at full price and bought back at full price,
- - BuyOnlyDefault – items are bought at full price but cannot be bought back.
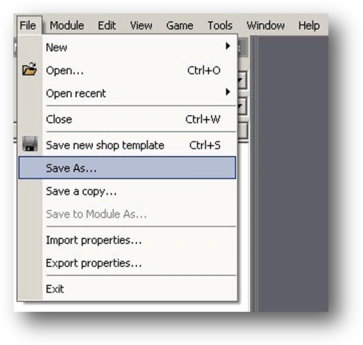
After setting price options, we need to save the shop template. To do this, select Save As… from the File menu:
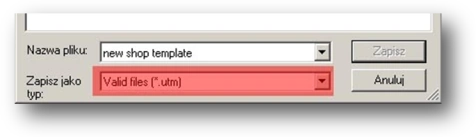
This opens the standard Windows window used for saving files. Go to the Data\Templates\Shops folder (where all shop and store templates are saved), type in our_shop and click Save. Remember that the file name cannot exceed 16 characters. Otherwise the D’jinni Editor will not see it. Make sure the file is saved in the .utm format:
If a different type of file is listed instead, it probably means that you’re trying to save the content in another open window by accident. Before saving the shop template, make sure that the new shop template window is active. If it is inactive, the title bar will be grey:
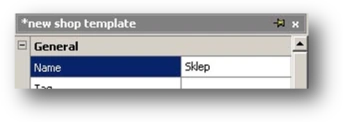
A different color means that the window is active:

An asterisk before the name in the title bar means that the file has not been saved since the last change was introduced.
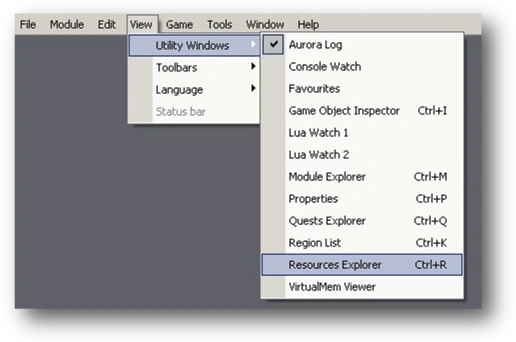
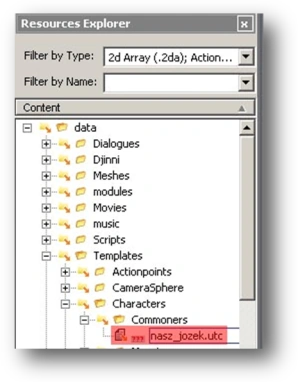
Now we need to assign the shop template to the character template. We’ll use Jethro’s character again. Open the Resources Explorer and select Utility Windows -> Resources Explorer from the View menu:
In the Resources Explorer, select Data -> Templates -> Character -> Commoners and double-click the file our_jethro.utc:
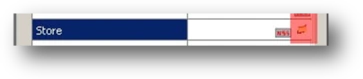
A window containing the attributes of the character template will appear on the right side of the screen. Click the small yellow icon in the right-hand column opposite the Store attribute in the Special section:
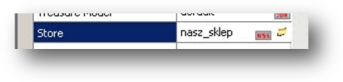
This opens the standard Windows window used for loading files. Go to the folder Data\Templates\Shops (where we saved the store template), select the our_shop.utm file and click Open. The shop template will now be assigned to the character template:
We still need to save the changes to Jethro’s template. To do this, select Save our_jethro.utc from the File menu:
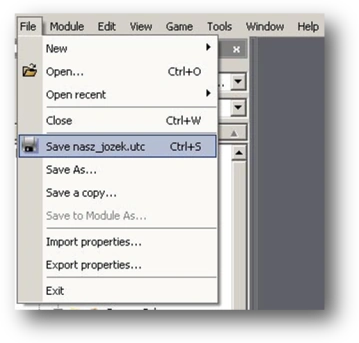
If the Save our_jethro.utc file name does not appear in menu, or if a different file name appears, that means that the our_jethro.utc window is not active at the moment. To activate it just click the title bar of the our_jethro.utc window and then select Save our_jethro.utc from the File menu.
Now we need to add the option to choose the store during Geralt’s conversation with Jethro. We’ll use the Resources Explorer again. Select Data -> Dialogues and double-click the file jethro_conversation.dlg:
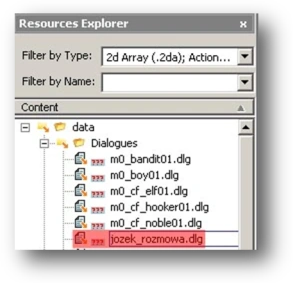
The jethro_conversation.dlg window will appear:
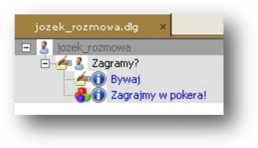
Select the "Shall we play?" node, right-click it and choose Create Dialog Reply from the drop down menu:
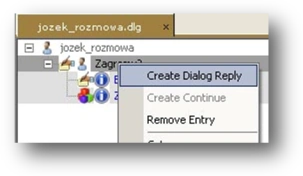
This creates an empty node. Left-click it and go to the Properties window containing the node’s attributes and conversation. Click the right-hand column opposite the ConvType attribute in the Node Text section and select the Gameplay option
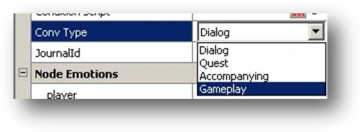
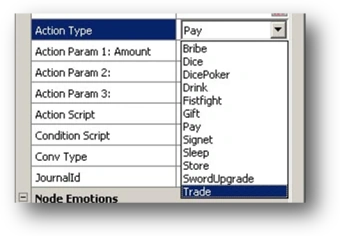
A new attribute will appear in the Node Text section. Click the right-hand column opposite the Action Type attribute and select the Trade option:
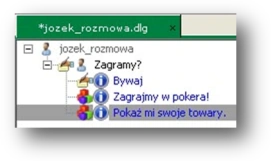
The empty node will automatically change to "Show me your goods":
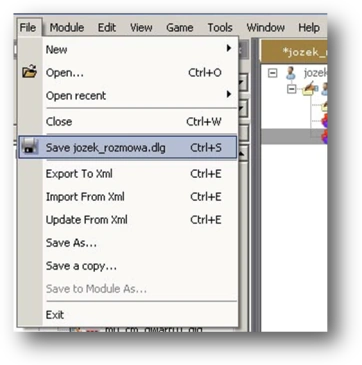
We still have to save the changes made to Jethro’s conversation. To do this, select Save jethro_conversation.dlg from the File menu:
If Save jethro_conversation.dlg does not appear, or a different file name appears, that means that the jethro_conversation.dlg window isn’t active at that moment. To activate it, just click the title bar of the jethro_conversation.dlg window and then select Save our_jethro.dlg from the File menu
That’s it. Now when we load our module and talk to Jethro, we’ll also be able to trade with him.