Defining character behavior and establishing the time and place in which a character is to spawn is what we’ll talk about now. The character spawn set developed by the creators of The Witcher is really pretty neat and, above all, imaginatively organized. It is possible to define when and where each character will spawn in the game as well as what actions the character will carry out.
With this solution, a character can be created who will, for example, appear in the game at 7:00 a.m. at the blacksmith’s and will remain there until 3:00 p.m. forging swords and armory. That same character will go to the tavern at 3:00 p.m. to have a drink and play poker. At 8:00 p.m., the character will leave and go to bed. The next day, he will get up at 7:00 and off to the blacksmith’s once again. The possibilities are practically endless. As stated at the beginning of this chapter, characters in The Witcher can be split into 3 categories – NPC characters, independent characters (e.g. commoners, which can also include city residents, merchants, bandits) and monsters. Let’s look at NPCs to start. An NPC has a name, individual traits, places where he/she spends time at various stages of the game, dialogues which are delivered in particular situations, etc. In other words, this is a unique character. Once killed, an NPC will not appear in the game. NPCs have a slightly different spawn sets than other characters (both commoners and monsters).
Creating a new Story NPC file[]
To begin with, we’ll go over how an NPC character spawn set is created. Our NPC is Siegfried and this set is being created for him. To build a spawn set for an NPC select New -> Story NPC (.npc) from the File menu:

The new story npc window will open:
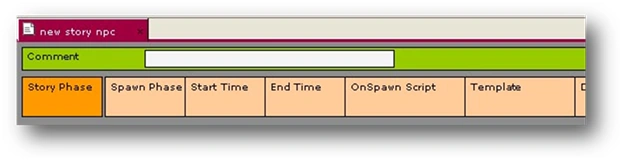
The window is quite long and can be navigated using the scroll bar located at the bottom of the screen. The window is divided into several columns. Now we’ll talk about the significance of each column and how to add new entries.
Comment[]
Contains a space in which to write a comment. This is not used by the game, it’s just an information field. You can write whatever you want here, for example a short description of the character. To add an entry, double-click on the white field opposite the word Comment:

For Siegfried, type in “Siegfried – knight, employer” and press ENTER:

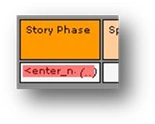
Story Phase[]
The manner in which each NPC acts depends on the phase of the story. By using scripts or quests, it’s possible to change the phase of the game’s story. This in turn causes a change in the character’s behavior (as long as the character has several phases defined). In each story phase the actions which a character is to execute have to be defined and spawn point identifiers need to be set. Spawn points and action points have been described in a different chapter of this manual.
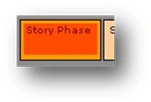
Each NPC can have an unlimited number of story phases. In each phase, the actions which a character is to carry out can be defined from scratch, the spawn point identifiers set and so on. This way an NPC can be defined specifically for each part of the game. To add a new story phase, right-click on the Story Phase column:
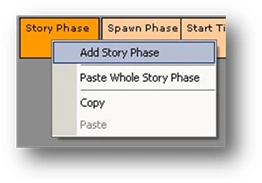
Select Add Story Phase from the menu:
This adds a new story phase:
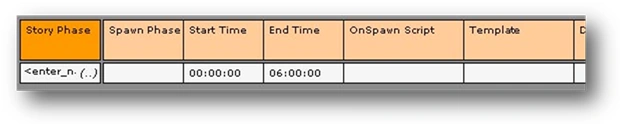
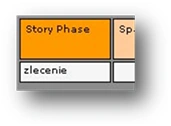
First, give the new story phase a name. The name of the phase should be simple and intuitive since it is going to be necessary every time a story phase change is desired for a character.
Since Siegfried is going to be Geralt’s employer in our story, type in the word “employer” and press enter:
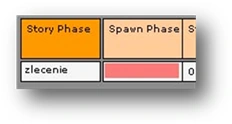
Spawn Phase[]
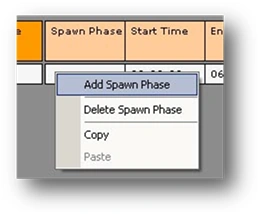
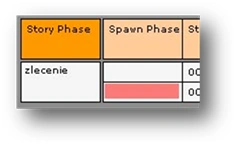
The next step will be to add a spawn phase. This phase type is generally responsible for the different periods of the day in which the character is performing actions. Each story phase may have several spawn phases. To add a new spawn phase, right-click on the field under the Spawn Phase column:
Select Add Spawn Phase from the menu:
This adds a new spawn phase. Note that a new line has appeared in the quest story phase:
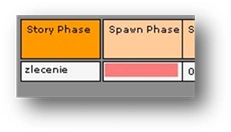
The quest story phase currently has two spawn phases. Since Siegfried is only going to have only one such phase in our adventure, the second can be removed. To change the setting, right-click on the spawn phase field to be removed. Since we just added the second spawn phase, we’ll just delete that one. Click on the second field under the Spawn Phase column:
Select Delete Spawn Phase from the menu:

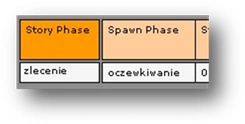
The unnecessary spawn phase has been removed. Each newly created story phase contains one spawn phase. Now, let’s name ours. To do so, double-click on the field under the Spawn Phase column:
Type-in waiting and press ENTER. Now a quest story phase in which there is one waiting spawn phase has been created:
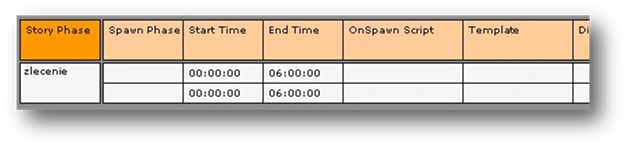
Start time[]
The next step will be to set the times at which the NPC will execute his actions. This is done by entering the appropriate time in the Start Time column, which defines the time a given spawn phase begins, and the End Time, which defines the time a given spawn phase ends. Within this timeframe the NPC will perform the actions which we will define later. To set the start time for the spawn phase, double-click on the field under the Start Time column:

The time can be entered using the keyboard or by using the small arrows located on the right-hand side of the column:
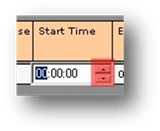
Leave the time at 00:00:00.
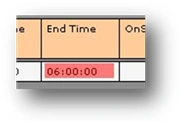
End Time[]
This column sets the time ending the spawn phase. The default time is 06:00:00. If that time was left, Siegfried would spawn at 00:00:00 and despawn at 06:00:00, but that’s not what we want here. In this adventure, Siegfried is supposed to be available in the game all the time, whether it’s night or day. To achieve this, both the spawn phase start and end times have to be set to 00:00:00. Double–click on the field under the End Time column:
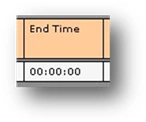
Type in 00:00:00 and press ENTER:
Remember that different spawn phases cannot overlap because no character can be in two different spawn phases simultaneously.
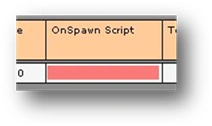
OnSpawn Script[]
This column sets a script which will be executed each time an NPC spawns. We don’t need to assign this for Siegfried. If you’d like to assign a script to an NPC, however, double-click on the field under the OnSpawn Script column:
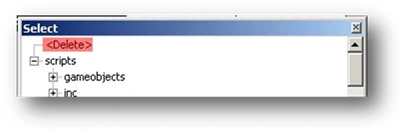
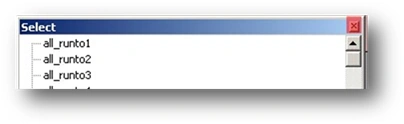
The Select window will open:
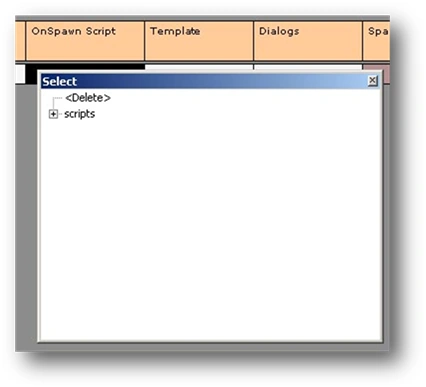
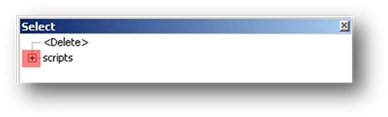
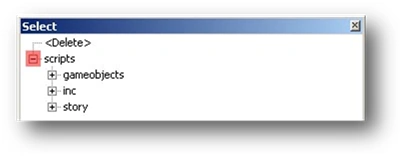
This window shows a list of all scripts available in the game. The list is shown in tree form and reflects the structure of the Data\Scripts folder (in which all scripts are saved. To open the tree, just click on the small ‘+’ sign:
To close the branch just click on the small ‘-‘ sign:
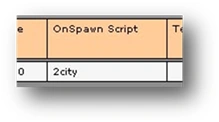
After locating the appropriate script, double-click on it. For example, we could assign the 2city script to Siegfried:

After double-clicking on the 2city script, it will appear in the field under the OnSpawn Script column:
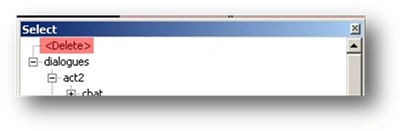
To remove the script again, double-click on the field under the OnSpawn Script column. This time, however, double-click on the <Delete> option located at the top of the list in the Select window:
This will remove the 2city script. Note that a different script can be assigned for each spawn phase.
Template[]
Another very important step is adding a character template. This is where the character template which we created earlier will be added. The rule for assigning a template is the same as for assigning scripts. Double-click on the field under the Template column. The Select window will open:
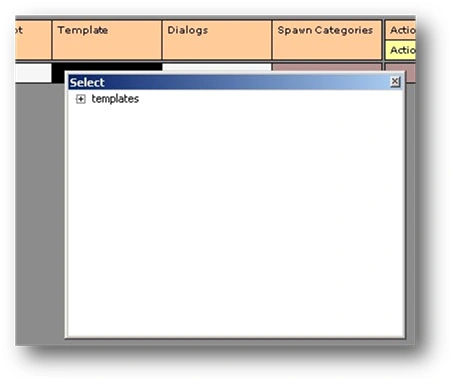
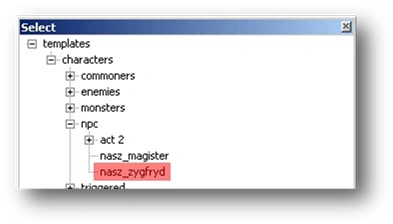
This time, a list of all character templates available in the game appears. The templates are displayed in tree form and reflect the structure of the Data\Templates folder. The Siegfried template has been saved in the Data\Templates\Characters\NPC folder. Locate the our_siegfried template and double-click on it:
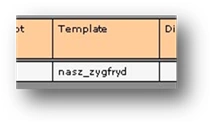
This assigns the our_siegfried character template to the quest story phase:
Once a character template has been assigned it can no longer be removed from the character spawn set. It can only be switched to another template. An NPC can have a different character template in each spawn phase, but for the change to be visible the character must first despawn and then respawn. This may require the player re-enter a given location.
Dialogs[]
Creating conversations is discussed in another chapter of this manual dedicated specifically to that topic. Conversations are simply dialogues between two or more characters. Siegfried will have a conversation assigned, but we’ll do that later. For now let’s look at how to assign a conversation file to a character’s spawn set. That is done the same way as assigning a script or character template. Double-click on the field under the Dialogs column:
The Select window will open:
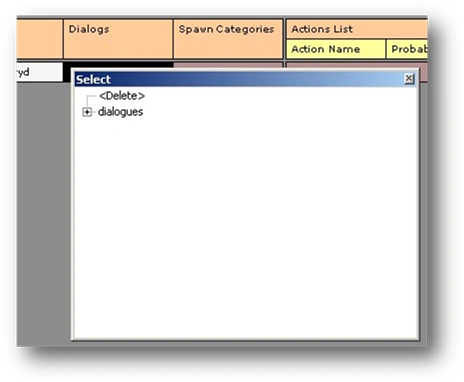
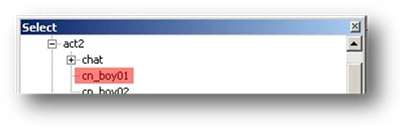
The window displays a list of dialogues. This list is displayed in tree form and reflects the structure of the Data\Dialogues folder (where all dialogues available in the game are saved). To assign a dialogue, locate it on the list and double-click. For example, assign the cn_boy01 dialogue to Siegfried:
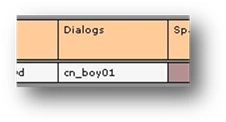
The dialogue selected will appear in the field under the Dialogs column:
Since we’ll create our own dialogue later, double-click on the field under the Dialogs column and select the <Delete> option in the Select window:
The dialogue will be removed. An NPC can have different conversation files assigned in each spawn phase. That is why these characters do not have dialogues assigned in the character template.
Spawn Categories[]
The next column is spawn categories. This is an identifier which tells an NPC at which spawn point to appear and/or disappear. To add a spawn category, right-click on the field under the Spawn Categories column:
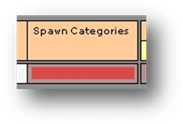
Select Add Category from the menu:

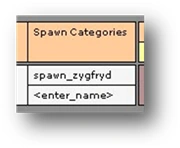
A new spawn category has been added. To name it, double-click on the field which has just been added under the Spawn Categories column:
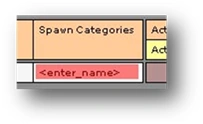
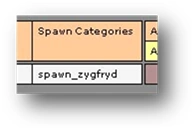
For Siegfried, let’s call the spawn category spawn_siegfried. Type in the name and press ENTER:
In order for Siegfried to respawn in the game at a later time, a spawn point with the same spawn_siegfried tag must be created. Spawn points are discussed in another chapter of this manual.
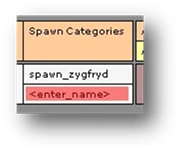
Each key NPC can have any number of spawn categories in a spawn phase. Let’s add one more category to Siegfried. Right-click under the Spawn Categories column and select Add Category from the menu. The following field will appear:
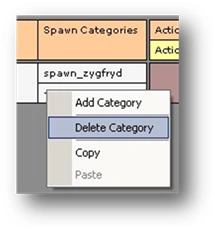
This second spawn category is unnecessary for our purposes, though, so it can be removed. To remove a spawn category, right-click on the appropriate field under the Spawn Categories column:
Select Delete Category from the menu:
Action List[]
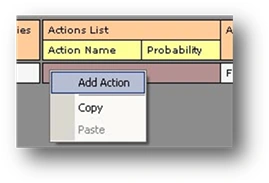
This column holds the actions which Siegfried will perform in a given spawn phase. These are sets of animations played for a particular character at a given moment. To add an action, right-click on the field under the Action List column:
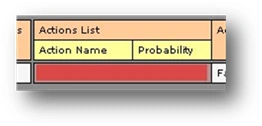
Select Add Action from the menu:
The Select window will open:
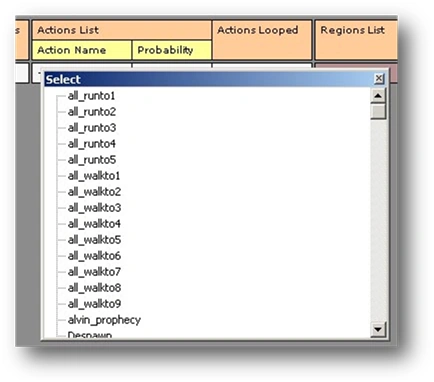
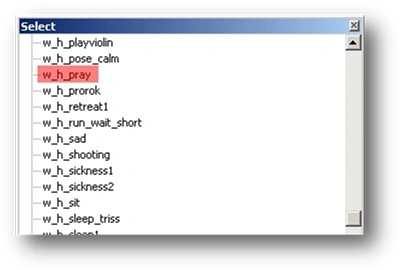
This window contains an extensive list of actions. Search for the w_h_pray action on the list (causing Siegfried to pray) and double-click on it:
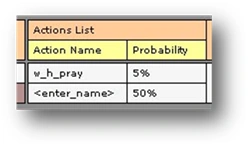
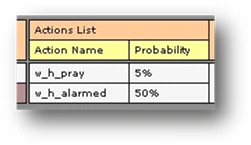
The action will appear in the Action Name column:
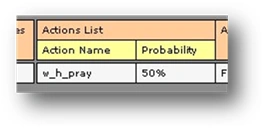
Under Probability a value of 50% has appeared. This indicates that our character has a 50% probability to perform the w_h_pray action rather than a different action at a particular time. Remember, after entering all the actions which a character is to perform in a particular spawn phase, the sum of the percentages must total 100%. Let’s assume Siegfried will only have a 5% chance of performing the w_h_pray action. To do so, double-click on the field under the Probability column:

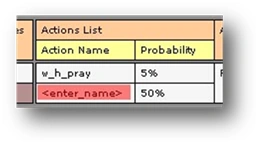
Type-in a value of 5 and press ENTER. There’s no need to enter the % sign – it is added automatically. Now add another action. Right-click again on the Action Name column in the quest story phase row. This time, after the Select window has opened, click on the small ‘x’ to close the window:
This adds an empty action:
Of course it cannot be left empty. Open the Select window with the list of actions again by clicking on the empty field under the Action Name column:
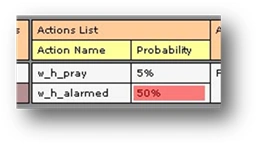
The Select window will re-open. This time, locate the w_h_alarmed action (causing Siegfried to look around in alarm) and double-click on it:
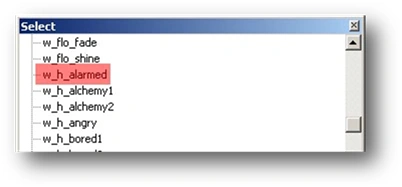
This action will appear in the Action Name column:
Double-click on the Probability column next to the w_h_alarmed action, set the probability to 10% and press ENTER:
Now let’s add three more actions for Siegfried: all_walkto1 (35% probability), all_walkto2 (35% probability) and w_h_bored (15% probability). By now, it’s clear how to do this. Siegfried’s total action set should look as follows:
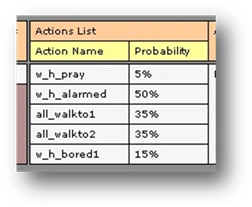
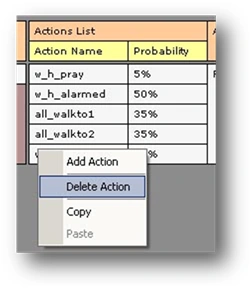
Remember, the total value of the Probability column should be 100%. After spawning, Siegfried will go from place to place, kneel and pray from time to time, take a look around and sometimes stretch from boredom. If you want to remove an action, just right-click on it and select Delete Action from the menu:
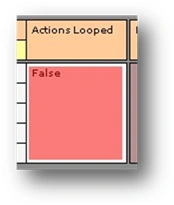
Actions Looped[]
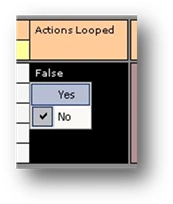
Setting the Actions Looped column to True will loop the action executions located in the Action Name column. Thus Siegfried will continually perform these activities. By setting Actions Looped column to False, Siegfried will execute an action only once and will then go to the despawn point. To set actions to loop, double-click on the field under the Actions Looped column:
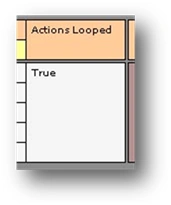
Select Yes from the menu:
This will set the actions to loop:
To change this, right-click again on the field under the Actions Looped column from the menu and select No.
Regions List[]
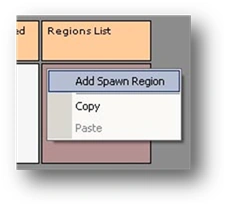
The spawn region is just an identifier for action points, which are discussed in another chapter of this manual. The spawn region tells the character which actions will be executed at which action points. Remember, an action point at which a character is to perform an action must have an identical action on its list. To add a new spawn region, right-click on the field under the Regions List column:
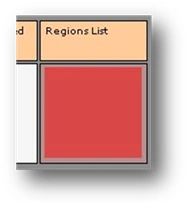
Select Add Spawn Region from the menu:
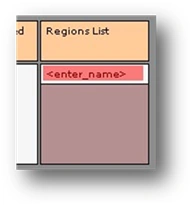
This adds a new spawn region:

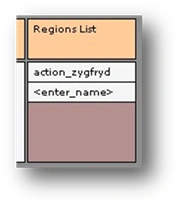
Now let’s name it. Double-click on the field just added under the Regions List column, type in the name action_siegfried and press ENTER:
Remember that the action point at which Siegfried is to carry out his actions must have the same name as the spawn region. In each spawn phase, a character may have any number of spawn regions. To add another region, right-click on the Regions List column again and select Add Spawn Region from the menu. Another field will appear:
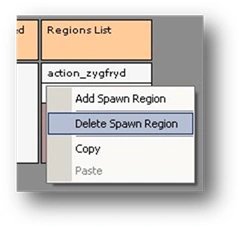
This second spawn region is unnecessary for our purposes, however, so right-click on it and select Delete Spawn Region from the menu:
That’s almost everything about creating a spawn set for key NPC characters. It is possible to save all main NPC characters to one key character spawn set, but that is not recommended. The best approach is to create a separate set for each character.
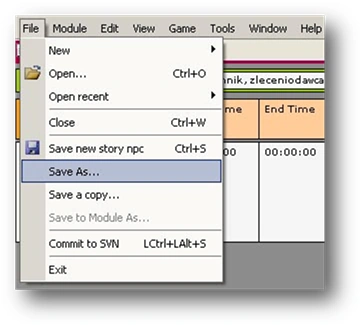
Now let’s save the set. To do so, select Save As…from the File menu:
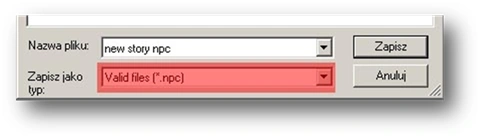
This opens the standard Windows window used for saving files. Save the Siegfried’s NPC spawn set in the Templates\NPCSpawn folder. Go to that folder, enter the name our_siegfried and click on Save. Remember that the name of the file cannot exceed 16 characters. Otherwise the D’jinni Editor will not see it. Make sure the file is saved in the npc format:
If a different type of file is listed instead, it probably means that you’re trying to save the content in another open window by accident. Before saving the spawn set, make sure that the new story npc window is active. If it is inactive, the title bar will be grey:
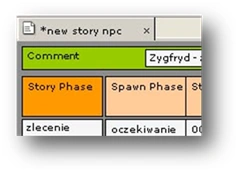
A different color means that the window is active:

An asterisk before the name in the title bar means that the file has not been saved since the last change was introduced. As when saving templates, instead of selecting Save as… from the File menu we can select Save new story npc. This will save the file directly in the module. This approach is not used in this manual, however.
Adding more NPCs[]
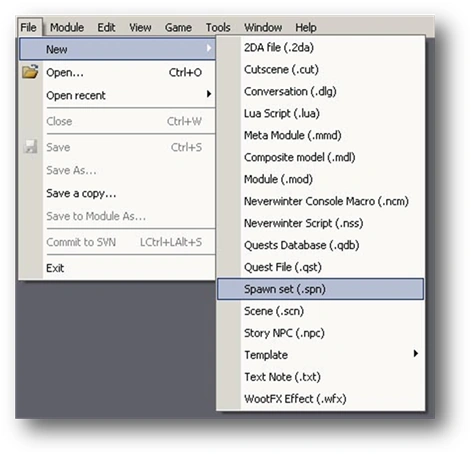
Now on to spawn sets for other characters, i.e. commoners and monsters. Let’s start with Jethro, a character whose task will be to play dice poker with Geralt. To create Jethro’s spawn set select New -> Spawn set (.spn) from the File menu:
The new spawn set window will open:
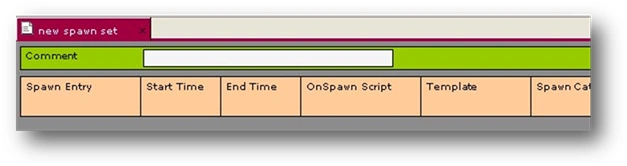
As with the new story npc window this one is also considerably long and can also be navigated using the scrollbar at the bottom of the screen. The window is also split into several columns. Even though some of the columns of the new spawn set window have the same meaning as those in the new story npc window, they will be discussed again so that the description of particular sets is more transparent.
Comment[]
Contains a space in which to write a comment. This is not used by the game, it’s just an information field. You can write whatever you want here, for example a statement identifying the character. To add an entry, double-click on the white field opposite the word Comment:

For Jethro, type in “Jethro – the avid dice poker player” and press ENTER:

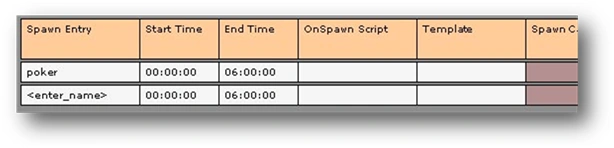
Spawn Entry[]
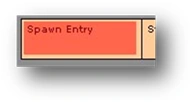
Spawn sets for non-NPC characters do not have columns for Story Phase and Spawn Phase. This is because phases do not concern these types of characters. Spawn entry can be compared to spawn phase, however. A character can be assigned actions to execute at different times of the day by adding different spawn entries. To add a new spawn entry, right-click on the Spawn Entry column:
Select Add Spawn Entry from the menu:
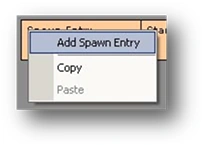
This adds a new spawn entry:

To name it, double-click on the field under the Spawn Entry column:
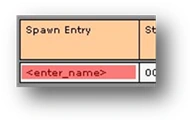
Since Jethro likes to play dice poker, just type poker and press ENTER:

To add another spawn entry, right-click on the Spawn Entry column again and select Add Spawn Entry from the menu. This adds a second spawn entry:
We don’t really need the second one, so go ahead and remove it. Right-click on the field under the Start Time column:

Select Delete Spawn Entry from the menu:
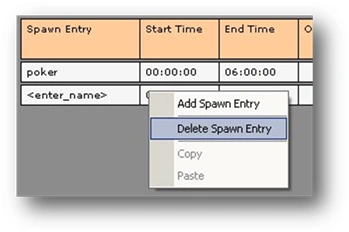
Don’t right-click on the field under the Spawn Entry column, however, since the Delete Spawn Entry option is not available there.
Start time[]
Independent characters, i.e. commoners, also need to have the times during which they will carry out their activities set. The Start Time and End Time columns here serve the same functions as with NPC spawn sets. To define a start time for a spawn entry, double-click on the field under the Start Time column:
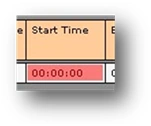
The Time can be entered using the keyboard or by using the small arrows located on the right-hand side of the column:

Leave 00:00:00 here.
End Time[]
The default time in the End Time column is, as before, 06:00:00. If that time remained, Jethro would spawn at 00:00:00 and despawn at 06:00:00. In our adventure, however, both Siegfried and Jethro need to be present in the game all the time, both day and night. As with NPC spawn sets, in order for independent characters to remain present at all times both the start and end times must be set to 00:00:00. Double-click on the field under the End Time column: